Installing a Sunjoy gazebo is easier than you think. Whether you’re creating a cozy patio retreat, a shaded space for dining, or a decorative structure for your garden, a Sunjoy gazebo combines elegance with practicality. To ensure your new gazebo stands securely and looks its best, following proper installation steps is essential.
This guide will take you through the key steps of gazebo installation, from assembling the frame to securing it on pavers and installing the roof. Let’s turn your outdoor space into a haven of comfort and style.
Streamline Your Gazebo Installation in 4 Easy Steps
Setting up a gazebo might seem like a big project, but with the right plan and tools, you’ll have it done in no time. Let’s break it down.
1. Prepare Your Space
The first step to a successful gazebo installation is choosing and preparing the location. · Choose the Perfect Spot: Pick a flat, level surface that complements your outdoor layout. Popular options include patios, decks, gardens, or even an area with pavers.
· Clear the Area: Remove any debris, plants, or uneven elements to create a smooth foundation.
· Check the Dimensions: Ensure your gazebo fits comfortably in the space, leaving enough room around it for furniture, plants, or walkways.
Pro Tip; If you’re planning to place your gazebo on pavers, make sure the pavers are firmly set and evenly spaced. This will provide a stable base for your structure.
2. Assemble the Gazebo Frame
Once your space is ready, it’s time to assemble the foundation of your gazebo.
· Unpack and Organize: Lay out all the parts from the Sunjoy gazebo kit, including screws, poles, and connectors. Refer to the detailed Sunjoy gazebo installation instructions to avoid missing any components.
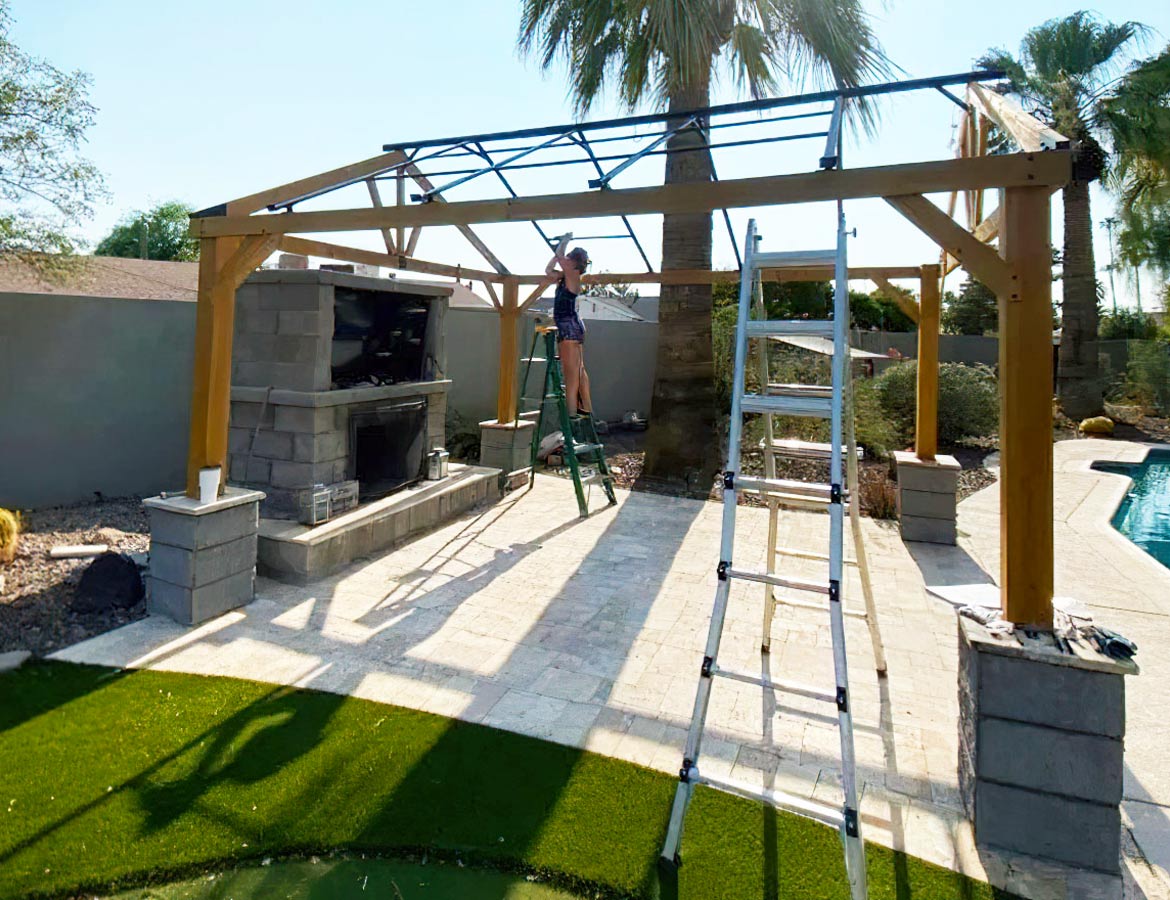
· Connect the Base: Start by attaching the corner posts to the base plates, ensuring they’re secure and aligned.
· Build the Frame: Add the horizontal beams to connect the posts. Use a level to confirm the frame is even and square.
This step is straightforward if you follow the instructions carefully. With a strong frame in place, your gazebo will be ready to withstand daily use and weather changes.
3. How to Secure Your Gazebo
Proper anchoring ensures your gazebo remains stable and safe, especially during windy conditions. Let’s look at the best methods for securing your Sunjoy gazebo:
Anchoring a Gazebo on Pavers
· Drill holes into the pavers using a masonry bit.
· Insert heavy-duty expansion bolts into the drilled holes.
· Attach the base plates of the gazebo to the bolts using a wrench.
Anchoring on Concrete or Grass
· For concrete surfaces, use concrete screws or anchors.
· For grass or soil, use ground stakes or auger-style anchors to secure the legs of the gazebo.
No matter your surface type, anchoring is crucial for the longevity and safety of your gazebo. Properly installed anchors also prevent damage to the structure in high winds.
4. Gazebo Roof Installation
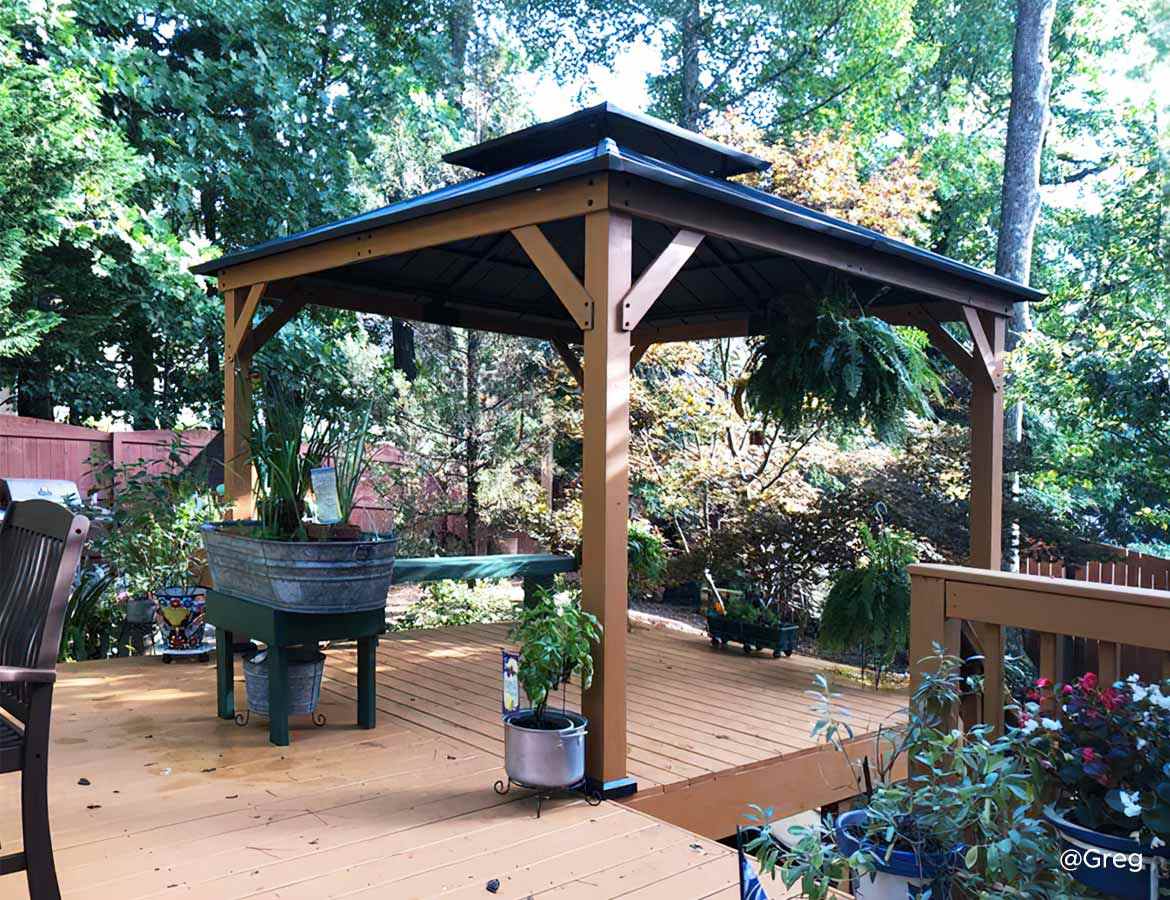
Installing the roof is often the most exciting part of the process, as it transforms the frame into a functional and beautiful outdoor structure.
· Prepare Roof Panels: Lay out the roof panels or canopy covers in the order recommended in the instructions.
· Attach Roof Supports: Secure the crossbeams and support brackets to the top of the frame. These provide a sturdy foundation for the roof panels.
· Install Roof Panels: Carefully position each panel onto the roof frame, securing it with bolts or screws. Start from one side and work your way across for even assembly.
· Check for Stability: Ensure all screws and bolts are tightened, and the panels are firmly in place.
Pro Tip: If your gazebo includes a vented roof, this feature not only adds style but also improves air circulation, making your space more comfortable.
Lighting and Final Touches
Once your gazebo is installed, it’s time to personalize it with finishing touches that make the space uniquely yours.
Add Lighting
Lighting enhances the functionality and ambiance of your gazebo. Here are some ideas:
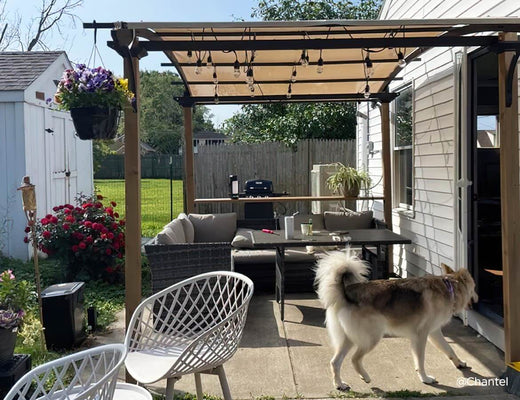
· String Lights: Wrap these around the roof frame for a warm, cozy glow.
· Pendant Lights: Hang a statement pendant light in the center for a dramatic effect.
· Solar-Powered Lights: Eco-friendly and easy to install, these are perfect for gazebos without nearby electrical outlets. Accessorize Your Gazebo
· Add mosquito netting or curtains for privacy and protection.
· Place outdoor furniture such as a dining table or lounge chairs beneath the gazebo to create a comfortable gathering space.
· Use plants, rugs, and cushions to add color and texture.
These finishing touches turn a functional structure into an inviting outdoor sanctuary.
Tips for Maintaining Your Sunjoy Gazebo
A well-maintained gazebo lasts longer and looks better year after year. Follow these tips:
· Clean Regularly: Wipe down the frame and roof with mild soap and water to remove dirt and debris.
· Inspect the Anchors: Periodically check that bolts and anchors are secure, especially after storms or high winds.
· Protect Fabrics: Remove curtains, netting, or fabric panels during harsh weather to prevent damage.
· Snow Removal: If you live in a snowy climate, clear snow from the roof to avoid excess weight on the structure.
Why Choose Sunjoy Gazebos?
Sunjoy gazebos are designed for durability, style, and ease of installation. With high-quality materials and clear instructions, these gazebos are built to provide long-lasting comfort and elegance in your outdoor space. Whether you’re setting up a permanent canopy gazebo, securing it on pavers, or completing a gazebo roof installation, Sunjoy makes the process simple and enjoyable.
Conclusion
Installing a Sunjoy gazebo doesn’t have to be complicated. By following these straightforward steps for assembling the frame, securing the structure, and completing the roof, you can create a stylish and functional outdoor space with ease. Whether you’re looking for guidance on how to install a gazebo on pavers or searching for tips on anchoring and personalization, this guide has everything you need to get started.


2 comments
Nicholas Durant
Hi There, i have just bought a pergola from you, model number A102007760 and wanted to look at the instruction manual before putting up, But do not want to open the boxes, as it will be a little while before being assembled. I have bought it from Robert Dyas in there Autumn sale. Please could you send me the PDF of the manual for this structure as it does not appear to be in your current list of manuals. Thank you
Pete
I purchased a Sunjoy 10 X 12 Hardtop Gazebo / Pavillon. It’s a lean-to style gazebo. Not sure the model # possibly A1020309A0 there is a production number 2024BPPCN10. To be honest I purchased this last year in June and have been scared, so to speak, to assemble it. I’ve tried to find an instruction/assembly video but have not had any luck. If you can provide me help and assistance with this I would really appreciate it. Thank you
Leave a comment
All comments are moderated before being published.
This site is protected by hCaptcha and the hCaptcha Privacy Policy and Terms of Service apply.