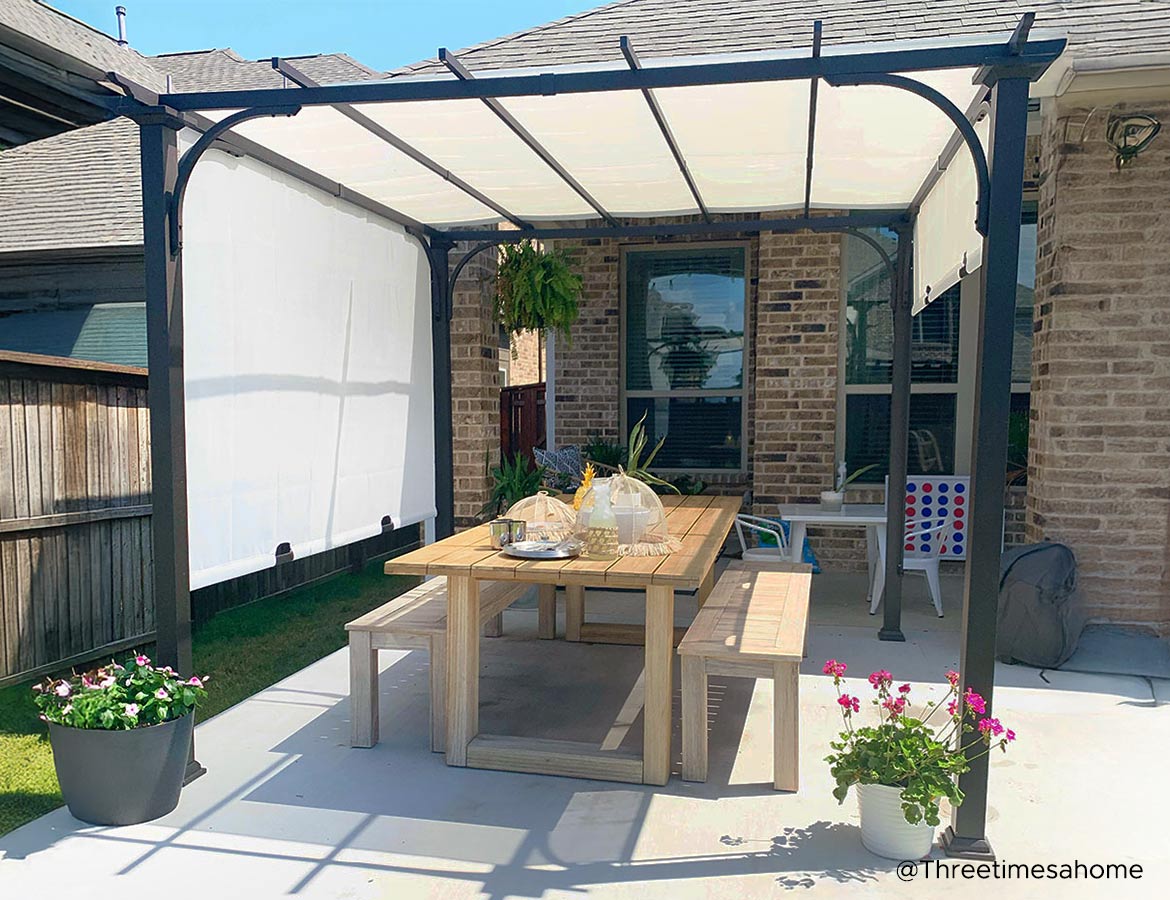
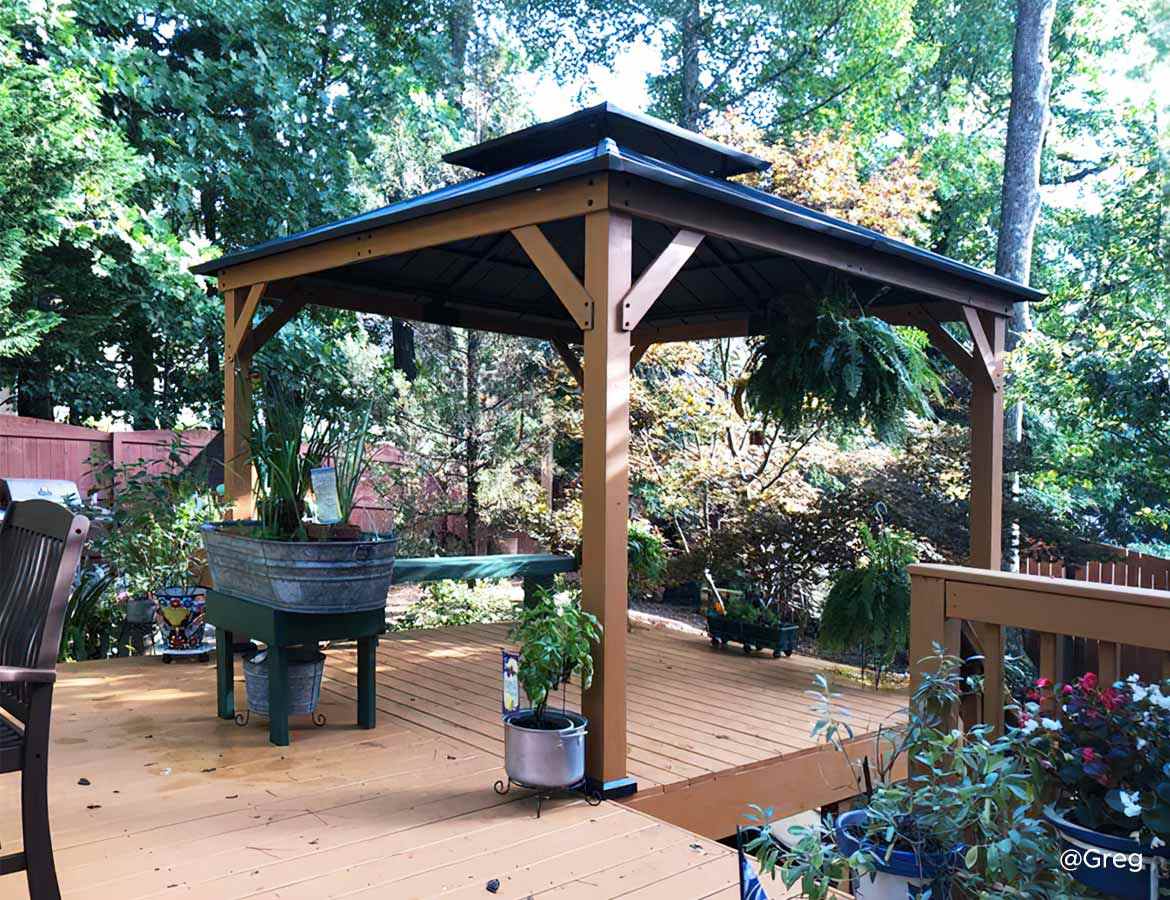
A gazebo can transform any outdoor space into an elegant retreat for relaxation, entertaining, or hosting gatherings. However, installing a gazebo involves more than just placing it in your yard. Proper gazebo installation, secure gazebo anchoring, and stylish lighting are essential for creating a durable and beautiful outdoor structure. In this guide, we’ll walk you through the steps for securing your gazebo, ensuring it stays anchored, and lighting it up to make your backyard shine.
Step 1: Preparing for Gazebo Installation
Before starting, careful preparation ensures a smooth and successful gazebo installation. Follow these steps:
1. Choose the Right Location
Select a flat, level surface for stability. Avoid areas with excessive water runoff or uneven ground.
2. Gather Your Tools and Materials
You’ll need tools like a drill, wrench, level, screws, anchors, and any included assembly instructions.

3. Read the Instructions Thoroughly
SUNJOY gazebos come with clear instructions for assembly. Familiarize yourself with the parts and steps to avoid any surprises.
4. Prepare the Base
Whether you’re installing your gazebo on grass, concrete, or a deck, the surface should be clean and solid.
By following these steps, your gazebo installation will begin with a strong foundation.
Step 2: Gazebo Anchoring – How to Secure Your Structure
Proper gazebo anchoring is critical to ensure safety and prevent your gazebo from being damaged by wind or heavy rain. Here are the best methods for how to anchor a gazebo:
1. Anchoring a Gazebo on Grass or Soil
· Use ground stakes or auger-style anchors to secure the legs of the gazebo.
· Drive the anchors deep into the soil for maximum hold. Attach the gazebo frame with strong bolts or ties to the anchors.
2. Anchoring a Gazebo on Concrete or Patio
· Use concrete anchors or expansion bolts to secure the gazebo.
· Drill holes into the concrete, insert the anchors, and bolt the gazebo legs securely.
3. Anchoring a Gazebo on a Wooden Deck
· For decks, use lag screws or bolts to attach the gazebo directly to the deck joists. Ensure the screws go deep enough to hold against wind pressure.

4. Adding Weight for Extra Stability
· If drilling isn’t an option, consider weighted gazebo anchors or sandbags to keep your structure stable.
By using these techniques, you can ensure your gazebo stays in place, providing long-term stability and safety.
Step 3: How to Hang Gazebo Lights and Illuminate with Style
Once your gazebo is securely anchored, it’s time to add the finishing touch—lighting! Knowing how to hang gazebo lights will help create a warm, inviting atmosphere for evening gatherings.
1. Choosing the Right Lights for Your Gazebo
· String Lights: Perfect for draping across the gazebo frame for a soft, ambient glow.
· Pendant Lights: Ideal for a modern look, hanging stylishly from the center of the gazebo.
· Lanterns: Add charm with hanging lanterns that provide a cozy vibe.
· LED Strip Lights: For a sleek, modern touch, install LED strips along the gazebo roof or legs.
2. How to Hang Gazebo Lights Safely
· Plan the Layout: Before installing, decide where you want your lights to hang. For string lights, create a zigzag or perimeter pattern for even illumination.
· Use Hooks or Clips: Attach lights using small hooks, clips, or ties to avoid damaging the gazebo structure.
· Power Source: Ensure your gazebo is close to an outdoor outlet, or opt for solar-powered or battery-operated lights.
· Weatherproof Connections: Use waterproof connectors and outdoor-rated lights to ensure safety in all weather conditions.
3. Tips for Creating the Perfect Ambiance
· Combine soft white lights with colored lights for festive occasions.
· Add dimmers for adjustable brightness levels.
· Use candles or solar lanterns for eco-friendly lighting alternatives.
Adding lights in a gazebo enhances its functionality, allowing you to enjoy your outdoor space well into the evening.
Maintenance Tips for Your Gazebo
After completing the gazebo installation and anchoring, it’s essential to maintain your structure to ensure it lasts for years:
1. Check Anchors Regularly
Inspect and tighten bolts or stakes to maintain stability.
2. Clean the Gazebo Frame and Canopy
Use mild soap and water to clean the frame and roof. For metal parts, check for rust and apply protective coatings as needed.
3. Protect Lights in the Gazebo
Use outdoor-rated lights and store them during harsh weather conditions to prevent damage.
4. Remove Snow or Debris
During winter, clear heavy snow from the roof to avoid excess weight on the structure.
With proper care, your gazebo will remain sturdy, stylish, and ready for any occasion.
FAQs About Gazebo Installation and Lighting
1. How long does it take to complete gazebo installation?
Installation time varies depending on size, but most gazebos can be assembled within 3–5 hours with the help of two people.
2. What is the best way to anchor a gazebo on a patio?
Using concrete anchors or expansion bolts provides the most secure hold for gazebos on patios.
3. Can I hang lights in a gazebo if there’s no power outlet nearby?
Yes, you can use solar-powered lights or battery-operated LED lights for convenience and energy efficiency.
4. What tools do I need for gazebo anchoring?
You’ll need a drill, screws, bolts, wrenches, and possibly ground stakes or concrete anchors, depending on your surface.
5. How can I protect my gazebo lights from rain?
Use waterproof, outdoor-rated lights and ensure all electrical connections are weatherproof.
Conclusion
A gazebo adds elegance and functionality to any outdoor space, and proper gazebo installation is key to ensuring it remains safe and stylish. By following these steps for gazebo anchoring, learning how to anchor a gazebo securely, and creatively incorporating lights in a gazebo, you can create a durable and beautiful structure that elevates your outdoor living.
Illuminate your space, host unforgettable gatherings, and relax in comfort knowing your gazebo is securely installed and perfectly lit.


Leave a comment
All comments are moderated before being published.
This site is protected by hCaptcha and the hCaptcha Privacy Policy and Terms of Service apply.