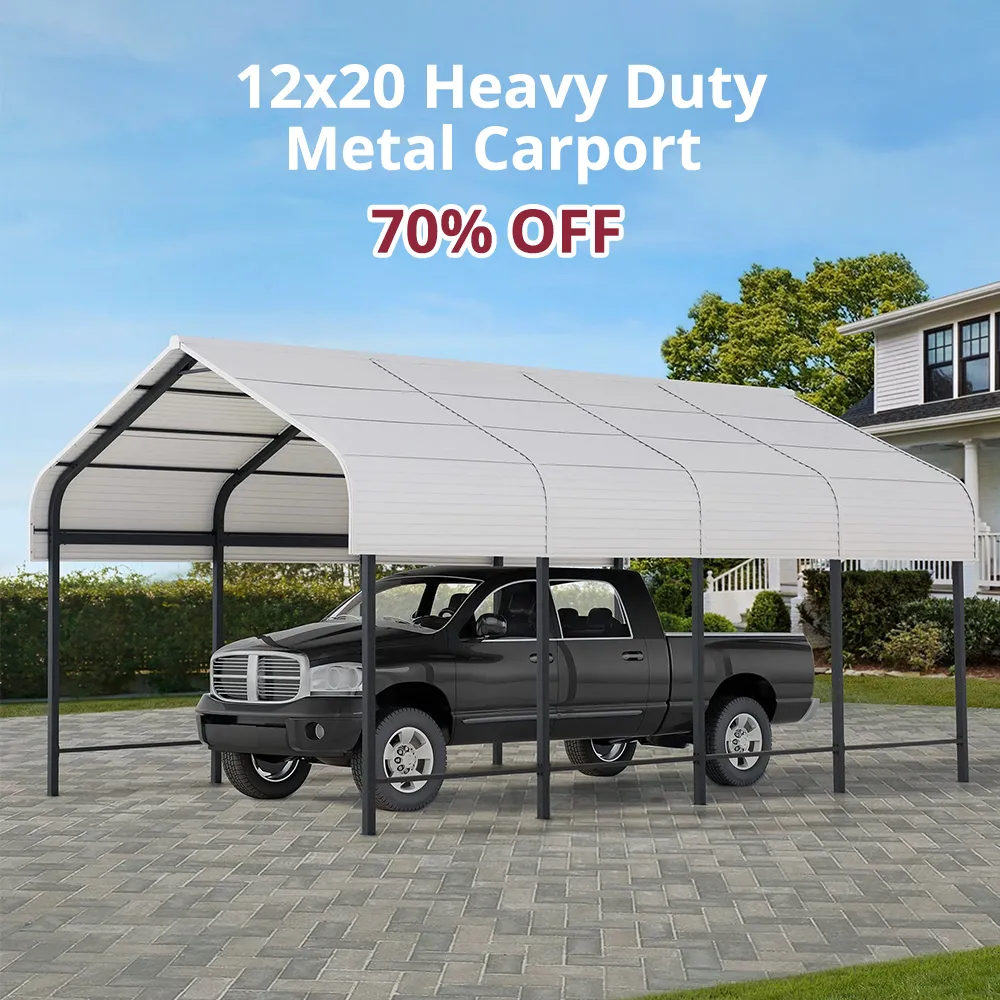
Installing a carport is one of the smartest ways to protect your vehicle from the elements. But before you begin assembling your carport kit, there's one crucial step that sets the foundation for everything else: leveling the ground.
Whether you’re building on soil, gravel, or concrete, getting a flat, stable surface is essential for structural integrity, drainage, and long-term durability. In this guide, we'll break down the best way to level ground for a carport and show you exactly what to do at each stage.
Why Leveling the Ground Matters
If the ground is uneven, your carport may:
Sit unevenly, causing stress on the frame
Experience water pooling and erosion issues
Become unstable or fail prematurely
Be difficult to anchor or align
Taking the time to properly prepare ground for a carport ensures your investment lasts longer and performs better.
Step-by-Step: Best Way to Level Ground for a Carport
Step 1: Choose the Right Location
Start by picking a site that’s:
Relatively flat to begin with
Not prone to flooding or standing water
Easily accessible from the driveway or road
Use stakes and string to outline the perimeter of your carport. Measure diagonals to confirm the area is square.
Step 2: Clear the Area
Remove grass, plants, debris, and rocks from the area. A flat shovel or sod cutter can speed up this process. Make sure to dig out at least 4 to 6 inches of topsoil to expose solid ground beneath. This is a key step in any carport ground leveling guide.
Step 3: Mark Your Grade
Use a builder’s level, string level, or laser level to determine high and low points.
Drive stakes at each corner and stretch string between them.
Use a line level to ensure all sides are even.
Mark areas that need to be cut down or filled in.
This helps you accurately level ground for metal carport or any other structure.
Step 4: Excavate High Spots
Dig down high areas using a shovel or mechanical equipment like a skid steer or rototiller.
For larger carports, renting excavation equipment may save time.
Haul away excess soil or use it to fill low spots.
Continue checking levels frequently during excavation.
Step 5: Fill Low Spots
Backfill low areas with:
Clean fill dirt for larger gaps
Crushed gravel or road base for compactable fill
Always compact in layers. Use a hand tamper or plate compactor to compact the material every 2–3 inches. Skipping compaction can lead to settling later.
Step 6: Compact the Entire Site
Once the surface is close to level, compact the whole area.
Use a plate compactor for best results
Water the area lightly before compacting to increase density
A firm, compact base is crucial for carport foundation preparation and prevents future structural issues.
Step 7: Recheck Level and Grade for Drainage
Verify that the area is still level and slopes slightly (1–2%) away from buildings for proper water runoff. This prevents pooling under the carport.
What to Use as the Base Surface
Depending on your climate, budget, and needs, here are your base options:
1. Gravel Base
Budget-friendly
Good drainage
Requires edge containment to hold shape
2. Concrete Slab
Durable and low maintenance
Provides the flattest surface
Ideal for areas with heavy rain or snow
3. Asphalt
A middle-ground option
More flexible than concrete, but less stable over time
If using a gravel base, always install a weed barrier fabric before laying gravel to prevent plant growth. This improves results when you prepare ground for carport use.
Tools You’ll Need
To level ground for a carport, gather these tools:
Shovels and rakes
Pickaxe (for rocky soil)
Line or laser level
Stakes and string
Wheelbarrow
Plate compactor (rent if needed)
Tape measure
Gravel or compactable base material
Pro Tips for a Long-Lasting Carport Foundation
Plan for drainage: Even a perfectly level base can flood without proper slope.
Anchor wisely: Concrete anchors or rebar stakes should be used based on your base type.
Mark utilities: Always call before digging to locate underground lines.
Add edging: For gravel bases, add timber or metal edging to keep material in place.
Follow this carport ground leveling guide to ensure safety and long-term durability.
Common Mistakes to Avoid
Skipping compaction: Leads to sinking and instability.
Leveling without checking grade: Water must drain away, not pool.
Using loose topsoil as base: It’s too soft and unstable.
Not staking layout first: Results in alignment errors during construction.
Avoiding these mistakes helps ensure the best way to level ground for a carport turns into a solid, long-lasting project.
Final Thoughts
Leveling the ground may not be the flashiest part of building a carport, but it’s definitely the most important. With the right tools, materials, and plan, you can create a strong, flat base that supports your structure for years to come.


Leave a comment
All comments are moderated before being published.
This site is protected by hCaptcha and the hCaptcha Privacy Policy and Terms of Service apply.