Everyone wants to create a dream backyard. After we have carefully selected the perfect product, how should we build it correctly and make it a landscape in the backyard?🍃
Do not worry. As an expert in creating beautiful "backyards" and a knowledgeable gazebo craftsman, today Sunjoy will take a classic hardtop gazebo kit as an example to explain its build steps step by step.
Come learn and build with us!🎉
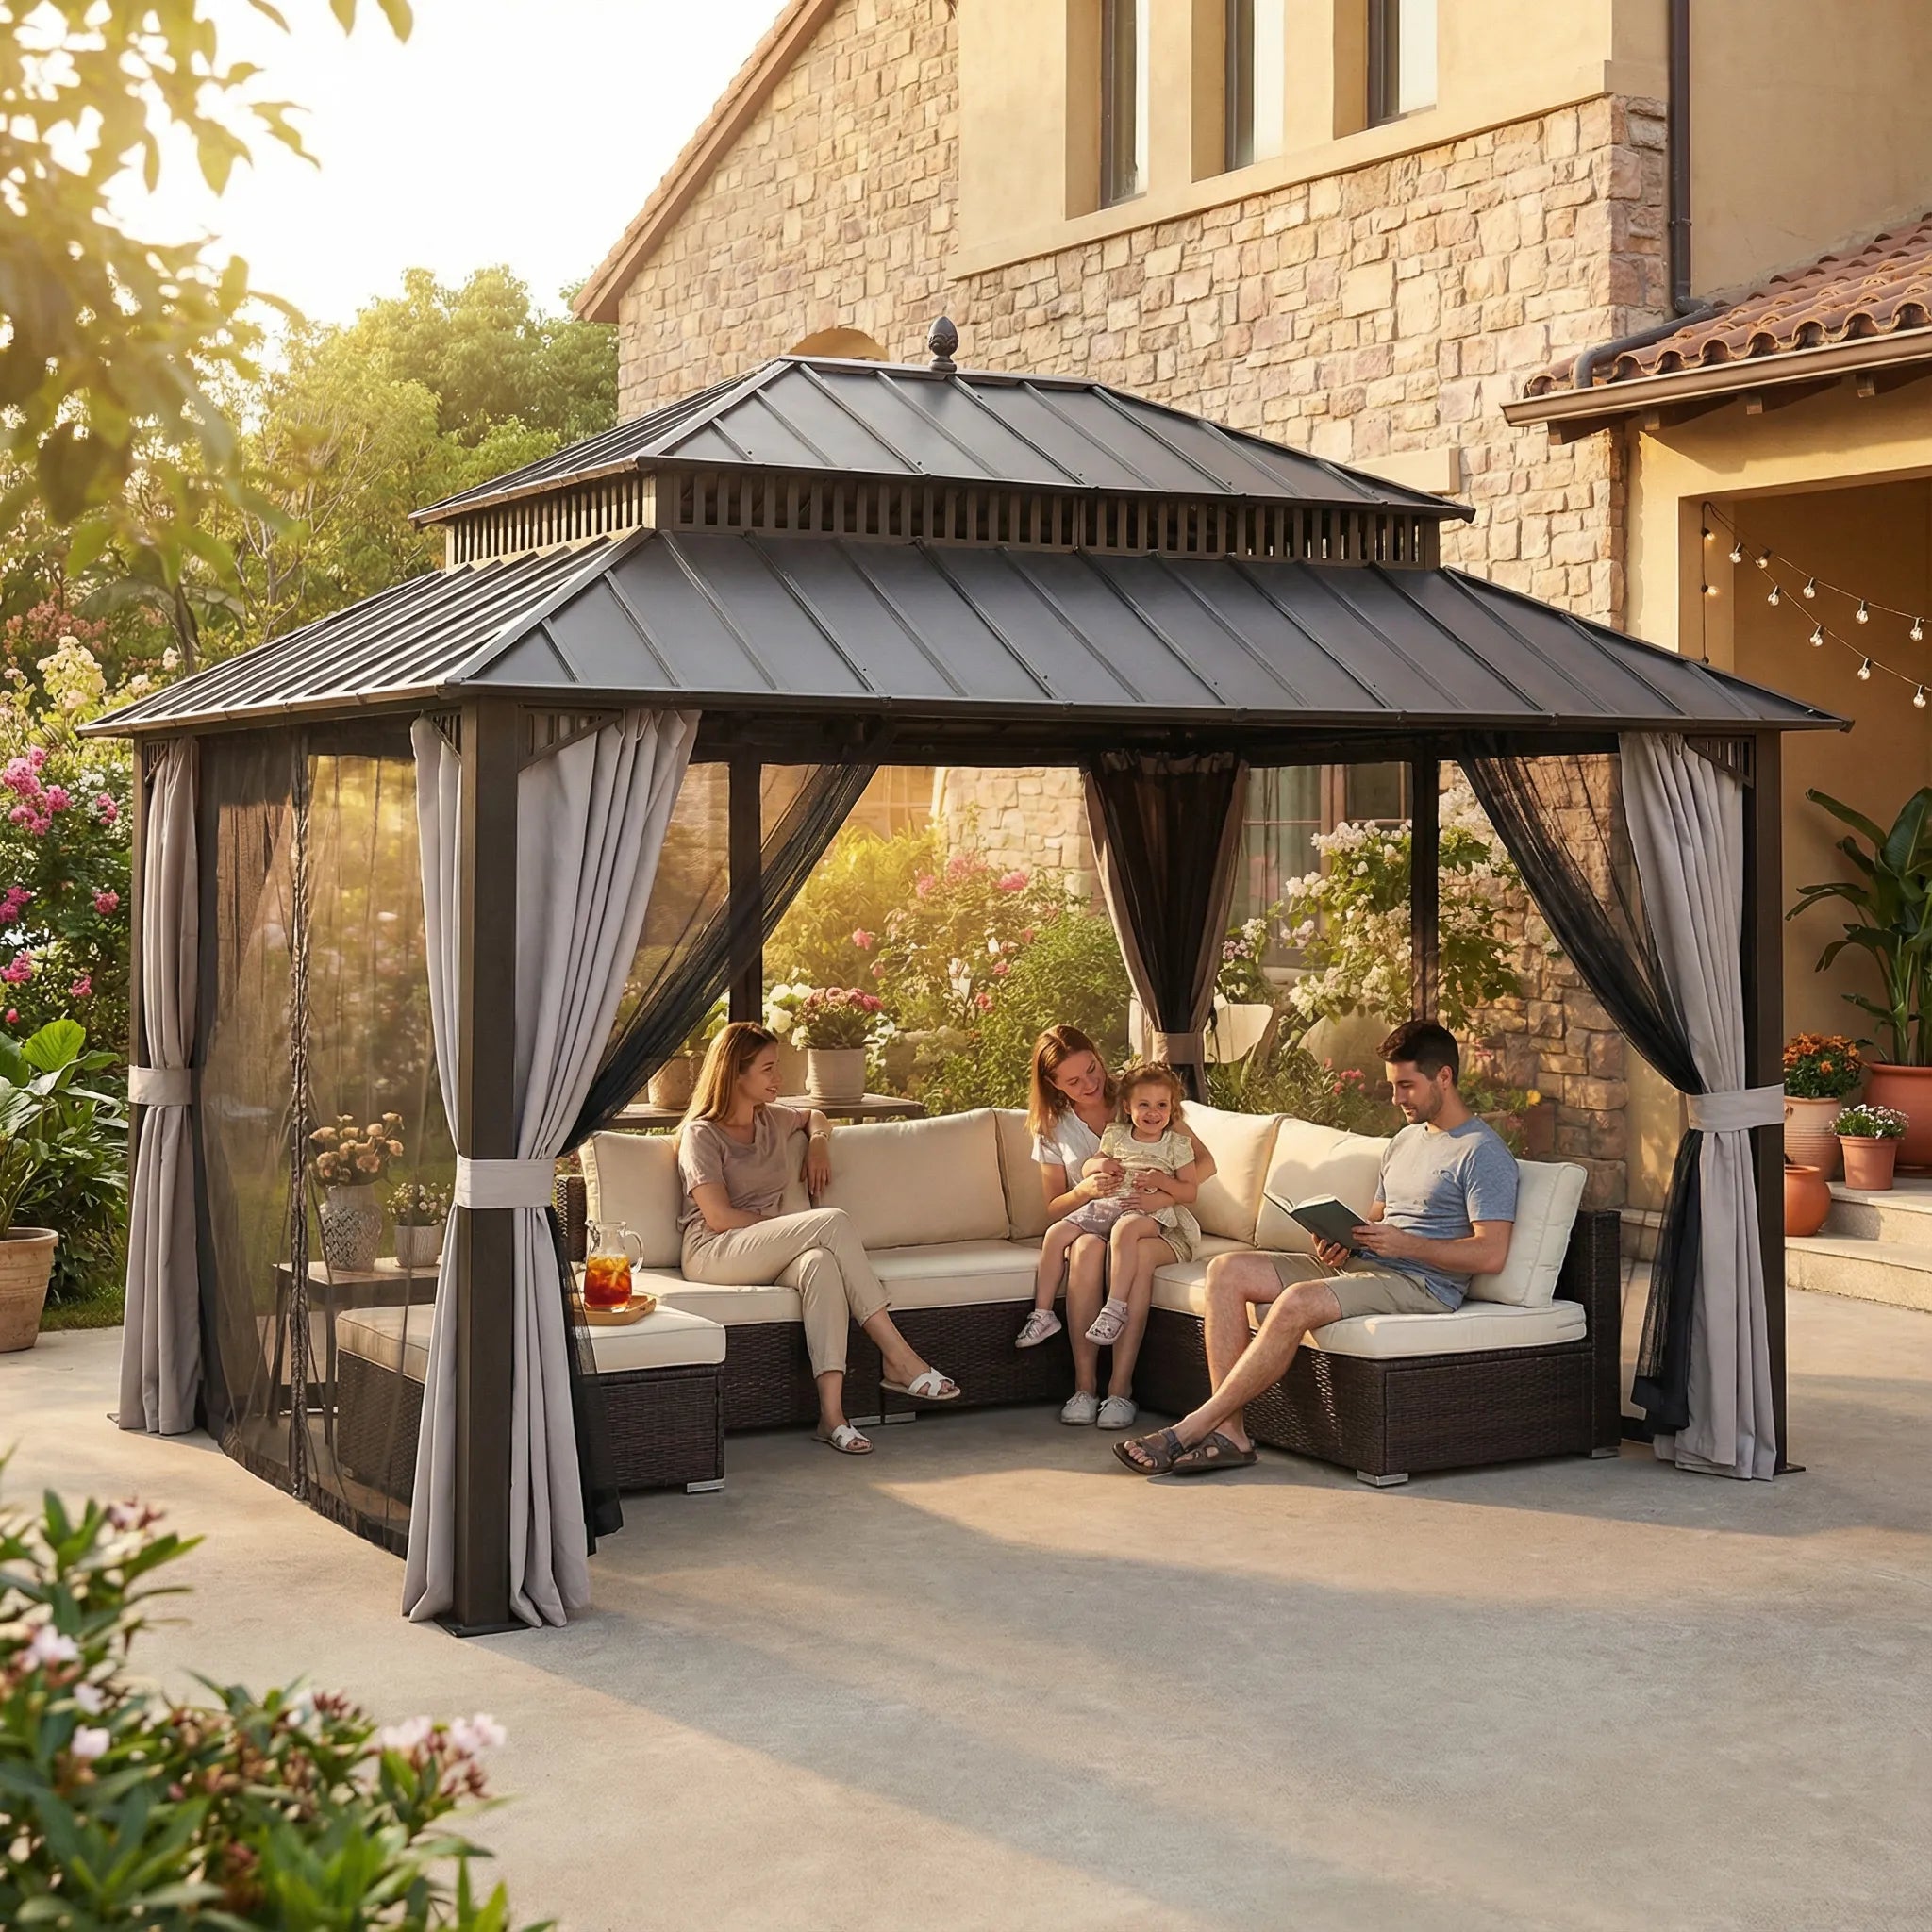
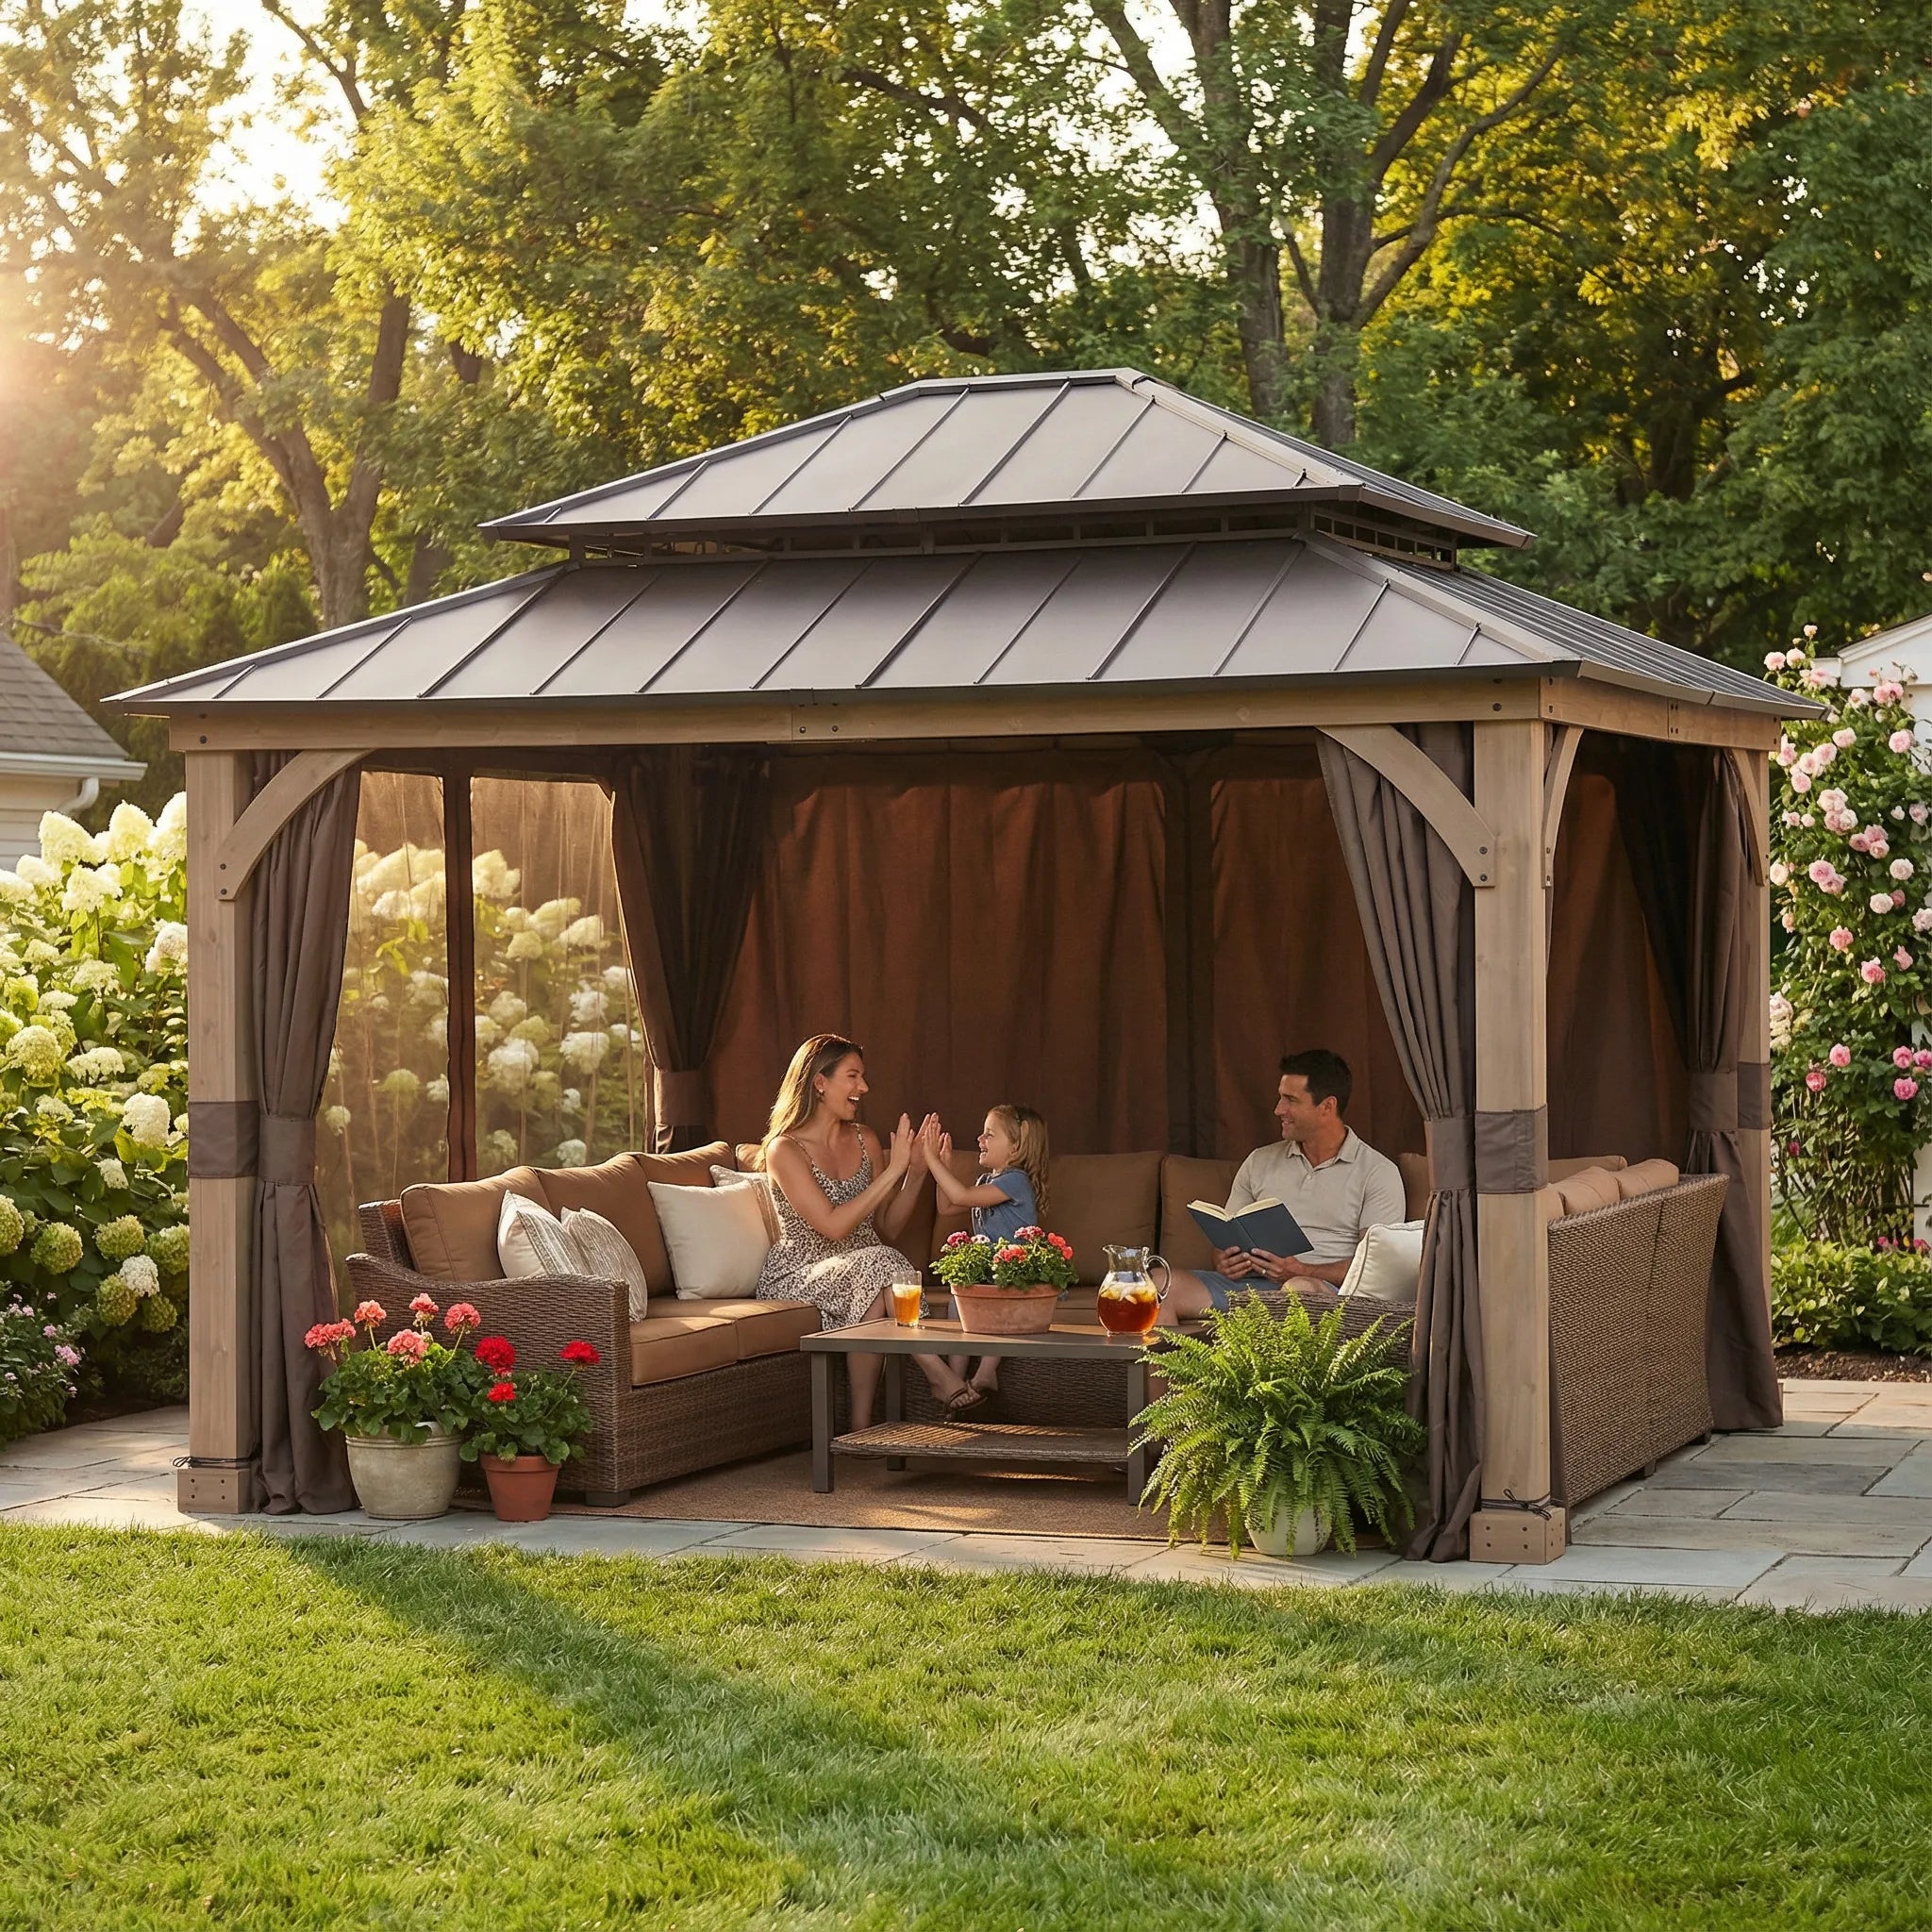
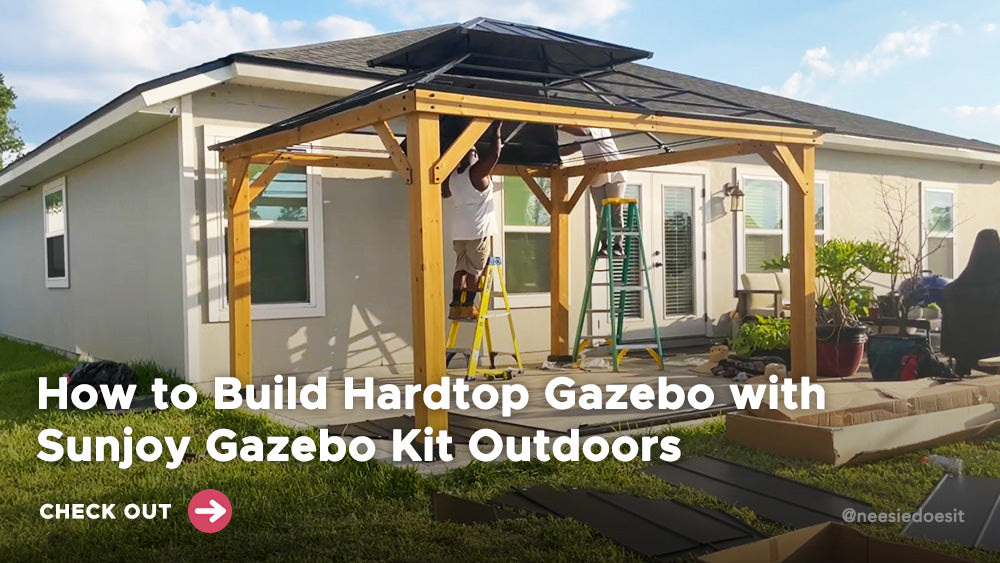
Look! Do you see this classic hardtop gazebo? This Sunjoy Outdoor Patio 11x13 Black 2-Tier Wooden Frame Backyard Hardtop Gazebo with Ceiling Hook expand your living space by bringing the indoors outside and creating your end-of-the-day oasis that’s the perfect spot for entertaining family and friends. This 11 x 13 ft. Archwood gazebo by the world’s leading ready-to-assemble outdoor structure maker, Sunjoy, creates the perfect outdoor setting for any time of the year. Spend all four seasons enjoying a covered spot outdoors under the cedar wood frame with a sturdy rust-resistant powder-coated steel rooftop that will stand the test of time. The 2-tier roof provides just the right airflow while keeping occasional inclement weather at bay. Set the mood by suspending a chandelier from the incorporated ceiling hook for functional light and high design. With straightforward, easy-to-follow assembly instructions you’ll be relaxing with your beverage of choice in your favorite new outdoor living space for years to come.🍓🥳


Connect Base Cover to the Post, then insert Base into Post and connect Base and Post with Screw, tighten with Phillips screwdriver.

Install T-Nut to the Inner Short Beam and Inner Long Beam, Install T-Nut to the Inner Middle Beam. Use Bolt and Flat Washer to connect Inner Short Beam and Inner Middle Beam, connect Inner Long Beam and Inner Middle Beam, then tighten with Allen Key.
Install T-Nut to the Outer Long Right Beam and Outer Short Right Beam. Use Bolt and Flat Washer to connect Outer Long Left Beam and Outer Long Right Beam, connect Outer Short Left Beam and Outer Short Right Beam, then tighten with Allen Key.
Use Screw to connect Outer Short Left Beam, Outer Short Right Beam and Inner Middle Beam, Inner Short Beam, connect Outer Long Left Beam, Outer Long Right Beam and Inner Middle Beam, Inner Long Beam, then tighten with Phillips screwdriver.

line up the hole on Middle Beam Connector and the hole on Inner Middle Beam, use M3 Drill to drill holes on Outer Long Left Beam, Outer Long Right Beam, Outer Short Left Beam, and Outer Short Right Beam. Then use Screw to connect Middle Beam Connector and Outer Long Left Beam, Outer Long Right Beam, Inner Middle Beam, connect Middle Beam Connector and Outer Short Left Beam, Outer Short Right Beam, Inner Middle Beam, tighten with Phillips screwdriver.
Use Blot, Screws , Flat Washer and Hex Nut to connect Outer Long Left Beam, Outer Long Right Beam, Inner Long Beam and Post, then tighten with Wrench.
Use Bolt, Screw , Flat Washer and Hex Nut to connect Outer Short Left Beam, Outer Short Right Beam, Inner Short Beam and Post, then tighten with Wrench. Use Screw to connect Slanting Beam Connector and Post, then tighten with Phillips screwdriver.
Use Bolt, Screw and Flat Washer to connect Arc Support 1/2 and Post, connect Arc Support 1/2 and Inner Short Beam, Inner Long Beam, then tighten with Allen Key.

Insert Big Roof Frame Short Tube, Big Roof Frame Long Tube into the Big Roof Frame Connector, Use Bolt to connect Big Roof Frame Short Tube and Big Roof Frame Connector, connect Big Roof Frame Long Tube and Big Roof Frame Connector, then tighten with Wrench.
Use Bolt to connect Big Roof Slanting Beam and Big Roof Frame Connector, connect Big Roof Slanting Beam and Slanting Beam Connector, then tighten with Wrench.

Use Bolt to connect Big Roof Middle Beam and Big Roof Frame Short Tube, connect Big Roof Middle Beam and Big Roof Frame Long Tube, connect Big Roof Middle Beam and Middle Beam Connector, then tighten with Wrench.
Use Bolt to connect Short Netting Pipe 1/2 and Big Roof Slanting Beam, connect Short Netting Pipe 1/2 and Big Roof Middle Beam, connect Long Netting Pipe 1/2 and Big Roof Slanting Beam, connect Long Netting Pipe 1/2 and Big Roof Middle Beam, then tighten with Wrench.
Use Bolt to connect Small Roof Connector and Small Roof Slanting Beam, then tighten with Wrench; Install Hook to the Small Roof Connector.

Insert Small Roof Slanting Beam into the Big Roof Frame Connector, use Bolt to connect Small Roof Slanting Beam and Big Roof Frame Connector, then tighten with Wrench.
Use Bolt to connect Small Roof Short Beam and Small Roof Slanting Beam, connect Small Roof Long Beam and Small Roof Slanting Beam, then tighten with Wrench.
Place Small Roof Panel 1/2 and Small Roof Small Panel onto the small top. Use Bolt to connect Small Roof Panel 1/2 and Small Roof Slanting Beam, Small Roof Short Beam, connect Small Roof Panel 1/2 and Small Roof Slanting Beam, Small Roof Long Beam, then tighten with Wrench.
Use Bolt to connect Small Roof Slanting Beam Cover and Small Roof Slanting Beam; Use Bolt to connect Small Roof Top Cover and Small Roof Connector, then tighten with Wrench.

Use Bolt to connect Big Roof Short Small Beam 1/2 and Big Roof Slanting Beam, connect Big Roof Short Small Beam 1/2 and Big Roof Middle Beam, connect Big Roof Long Small Beam 1/2 and Big Roof Slanting Beam, connect Big Roof Long Small Beam 1/2 and Big Roof Middle Beam, then tighten with Wrench.

- Step 16: Attach Big Roof Beam Part 2
Insert Big Roof Bottom Short Beam 1/2 into the Big Roof Slanting Beam, Insert Big Roof Bottom Long Beam 1/2 into the Big Roof Slanting Beam, use Bolt to connect Big Roof Bottom Short Beam 1/2 and Big Roof Middle Beam, connect Big Roof Bottom Long Beam 1/2 and Big Roof Middle Beam, then tighten with Wrench.
Place Big Roof Long Big Panel, Big Roof Left/Right Big Panel, Big Roof Left/Right Middle Panel, Big Roof Left/Right Small Panel onto the big top in order.
Use Bolt to connect Big Roof Left/Right Big Panel, Big Roof Left/Right Middle Panel, Big Roof Left/Right Small Panel and Big Roof Bottom Short Beam 1/2. Connect Big Roof Long Big Panel, Big Roof Left/Right Big Panel, Big Roof Left/Right Middle Panel, Big Roof Left/Right Small Panel and Big Roof Bottom Long Beam 1/2. Use Black Plastic Buckle to connect Big Roof Long Big Panel and Big Roof Frame Long Tube. Connect Big Roof Left/Right Big Panel and Big Roof Frame Short Tube. Connect Big Roof Left/Right Big Panel and Big Roof Frame Long Tube, then tighten with Wrench.

Use Bolt to connect T-Nut and Big Roof Slanting Beam, then tighten with Wrench.
Insert Stake into Base to fix the assembled gazebo onto the ground, the product assembly is completed.
Proper installation of a gazebo will keep its shape intact, ensuring that the posts will not move over time for long-term safety and stability. A good installation will make the pergola or gazebo stand the test longer.🙌
Since the grass is softer, it is relatively easy to install, it can be installed on the grass with our matching accessories.Fix the assembled gazebo to the flat ground with Stake Φ8*180 and Base, the product assembly is completed.
Installing gazebos on wood and concrete surfaces becomes very easy if you have the right equipment at hand, such as drills, bolts, or rods.🌟
1. Using bolts
Bolt down the legs to secure a gazebo to concrete.
If you decide to use bolts, you will need a drill to help you out. Sunjoy gazebos already have holes in their feet, simply set up your gazebo, mark the point on the concrete surface where the bolt should go, and start drilling. Once done you can secure the gazebo to the concrete surface with the bolt. Repeat this procedure for all 4 legs. Please confirm the position you want, once drilled, it cannot be changed.
2. Using rods
Just like with the bolts, you will need to drill considerable holes. Make sure to mark the holes exactly where they are, once drilled, they cannot be changed.
Once all the holes are drilled and the rods are inserted into the holes, you can slowly lower your gazebo onto the rods.
The rods will be permanent but that doesn’t mean you can’t take down your gazebo, so placed the rods in such a way that they won’t be a nuisance when not in use.
You have selected a gazebo kit and built the gazebo you need, and now you're ready to create the perfect outdoor backyard of your dreams.
It's hard to start building without an idea, so before trying to create your backyard, write all your ideas down, maybe you can draw a simple sketch.🌼
By planning your design using sketches and drawings, you can identify obstacles before they actually occur. Things to look out for include drainage issues, proximity to power sources, location in daytime sunlight, and not blocking access to the door.
After you've planned a successful design, it's time to spice up your outdoor space. Plants are great for creating shade and adding a touch of natural color to your outdoor area.🌿
The exact variety of plants you choose will depend on your own personal preferences, ranging from small pots of greens to larger pots of colorful flowers.🌺🌼
For those who don't like to decorate with plants, we can use mood lighting, or bright chandeliers to decorate. It will light up your outdoor evenings, even if it's an outdoor dinner party at night.🌟
Accessories are of course our favorite part of backyard design. From string lights to swings, the finishing touches make all the difference. Greeting guests under cheap folding chairs and a simple roof, it feels like everything is not so good. If you enjoy dining outdoors, choose high-quality outdoor furniture that will last a long time and options that are guaranteed to impress your guests.👍🏽
Many of the best moments in life happen in the backyard. Children love to play in the backyard, and there are naughty dogs running in the backyard. Every episode is a precious memory. Bring your family and friends to this comfortable space, drink drinks and chat, you will feel very happy and get closer to each other.🥂
Do you have experience assembling a gazebo kit? What problems have you encountered and how did you solve them? Use the hashtag #Sunjoylife to share your idea or opinion with us on Facebook, Twitter, Instagram, Pinterest, and Tiktok.
Leave a comment
All comments are moderated before being published.
This site is protected by hCaptcha and the hCaptcha Privacy Policy and Terms of Service apply.