
A covered patio turns an ordinary backyard into a year-round outdoor retreat. Whether you want shade for summer afternoons or protection from light rain, having solid patio cover plans in place before you start is the key to a smooth build. This guide walks you through every stage, from choosing your design to the finishing touches.
Step 1: Plan Before You Build
Good planning prevents costly mistakes. Before picking up a single tool, take time to answer these questions:
-
What size do you need? Measure the area you want to cover and sketch a simple layout.
-
Attached or freestanding? Attached covers connect to your home's fascia wall and share its support structure. Freestanding covers stand independently and can be placed anywhere in your yard.
-
Do you need a permit? Many local building departments require permits for permanent patio covers. Check with your local zoning office before starting.
- What is your budget? Material choices, foundation type, and roofing all affect cost significantly.
Step 2: Choose Your Materials
The material you choose determines how your cover looks, how long it lasts, and how much upkeep it needs.
Wood
- Delivers a classic, natural aesthetic
- Cedar, redwood, teak, and cypress are all popular for outdoor use due to their natural resistance to decay
- Requires staining or sealing every two to three years to maintain condition
Aluminum
- Lightweight and rust-proof, making it ideal for low-maintenance households
- Available in a wide range of colors and styles
- Holds up well in humid or coastal climates
Vinyl
- Affordable and easy to clean
- Comes in many styles but may warp in extreme heat over time
Polycarbonate Panels
- Allows natural light to filter through while blocking UV rays and rain
- A great middle ground between open lattice and a fully solid roof
Step 3: Set Your Posts
The posts are the backbone of your patio cover. Getting them right ensures the entire structure stays level and secure.
- Mark your post locations using stakes and string lines before digging.
- Dig holes to the depth required by your local building code, typically 12 to 18 inches depending on frost line and soil type.
- Use galvanized post anchors to attach posts to an existing concrete slab. If you are placing posts in soil, fill the holes with concrete mix and allow it to cure fully before moving on.
- Use a level to keep every post perfectly plumb while the concrete sets.
- Standard posts for patio covers are 6x6 lumber, which provides the strength needed to support beams and roofing.
Step 4: Install Beams and Rafters
Once your posts are set and cured, it is time to build the frame.
- Attach the main beam across the tops of your posts using lag screws or structural brackets. For attached covers, secure a ledger board to the house wall first, making sure it is properly flashed to prevent water intrusion.
- Install rafters perpendicular to the main beam, spacing them 24 inches apart for even support.
- Use metal tie-down brackets where the rafters meet the beam for added rigidity.
- Add diagonal knee braces at each post-to-beam junction to prevent racking under wind load.
- Double-check that everything is level before moving to the roofing stage.
Step 5: Add Your Roofing Material
The roof is what makes a patio cover functional. Your choice here depends on the look you want and how much weather protection you need.
Metal panels are lightweight, weather-resistant, and can last 50 years or more with minimal maintenance. For proper drainage, a minimum roof pitch of 3/12 is recommended.
- Asphalt shingles blend well with existing home roofing and provide full weatherproofing.
- Lattice or open slats let in filtered light and airflow, giving a pergola-style look.
- Polycarbonate sheets offer a translucent option that keeps the space bright while blocking rain.
Install panels or roofing from one end and work across, overlapping seams as directed by the manufacturer. Use rubber-washer screws to seal every fastening point and prevent leaks.
Step 6: Finish and Maintain
A finished patio cover should look clean and be sealed against moisture.
- Apply exterior paint, stain, or sealant appropriate for your material.
- Add gutters and downspouts to manage water runoff away from the foundation.
- Inspect twice a year for loose screws, cracked wood, or damaged panels.
- Clear leaves and debris regularly to prevent moisture buildup.
Skip the Build: Ready-to-Assemble Patio Cover Solutions from Sunjoy
If a full DIY build sounds like more than you want to take on, a ready-to-assemble outdoor structure from Sunjoy is a fast, reliable alternative. Founded in 2001 and trusted by over 10 million families across North America, Sunjoy engineers outdoor structures built to stand up to real weather.
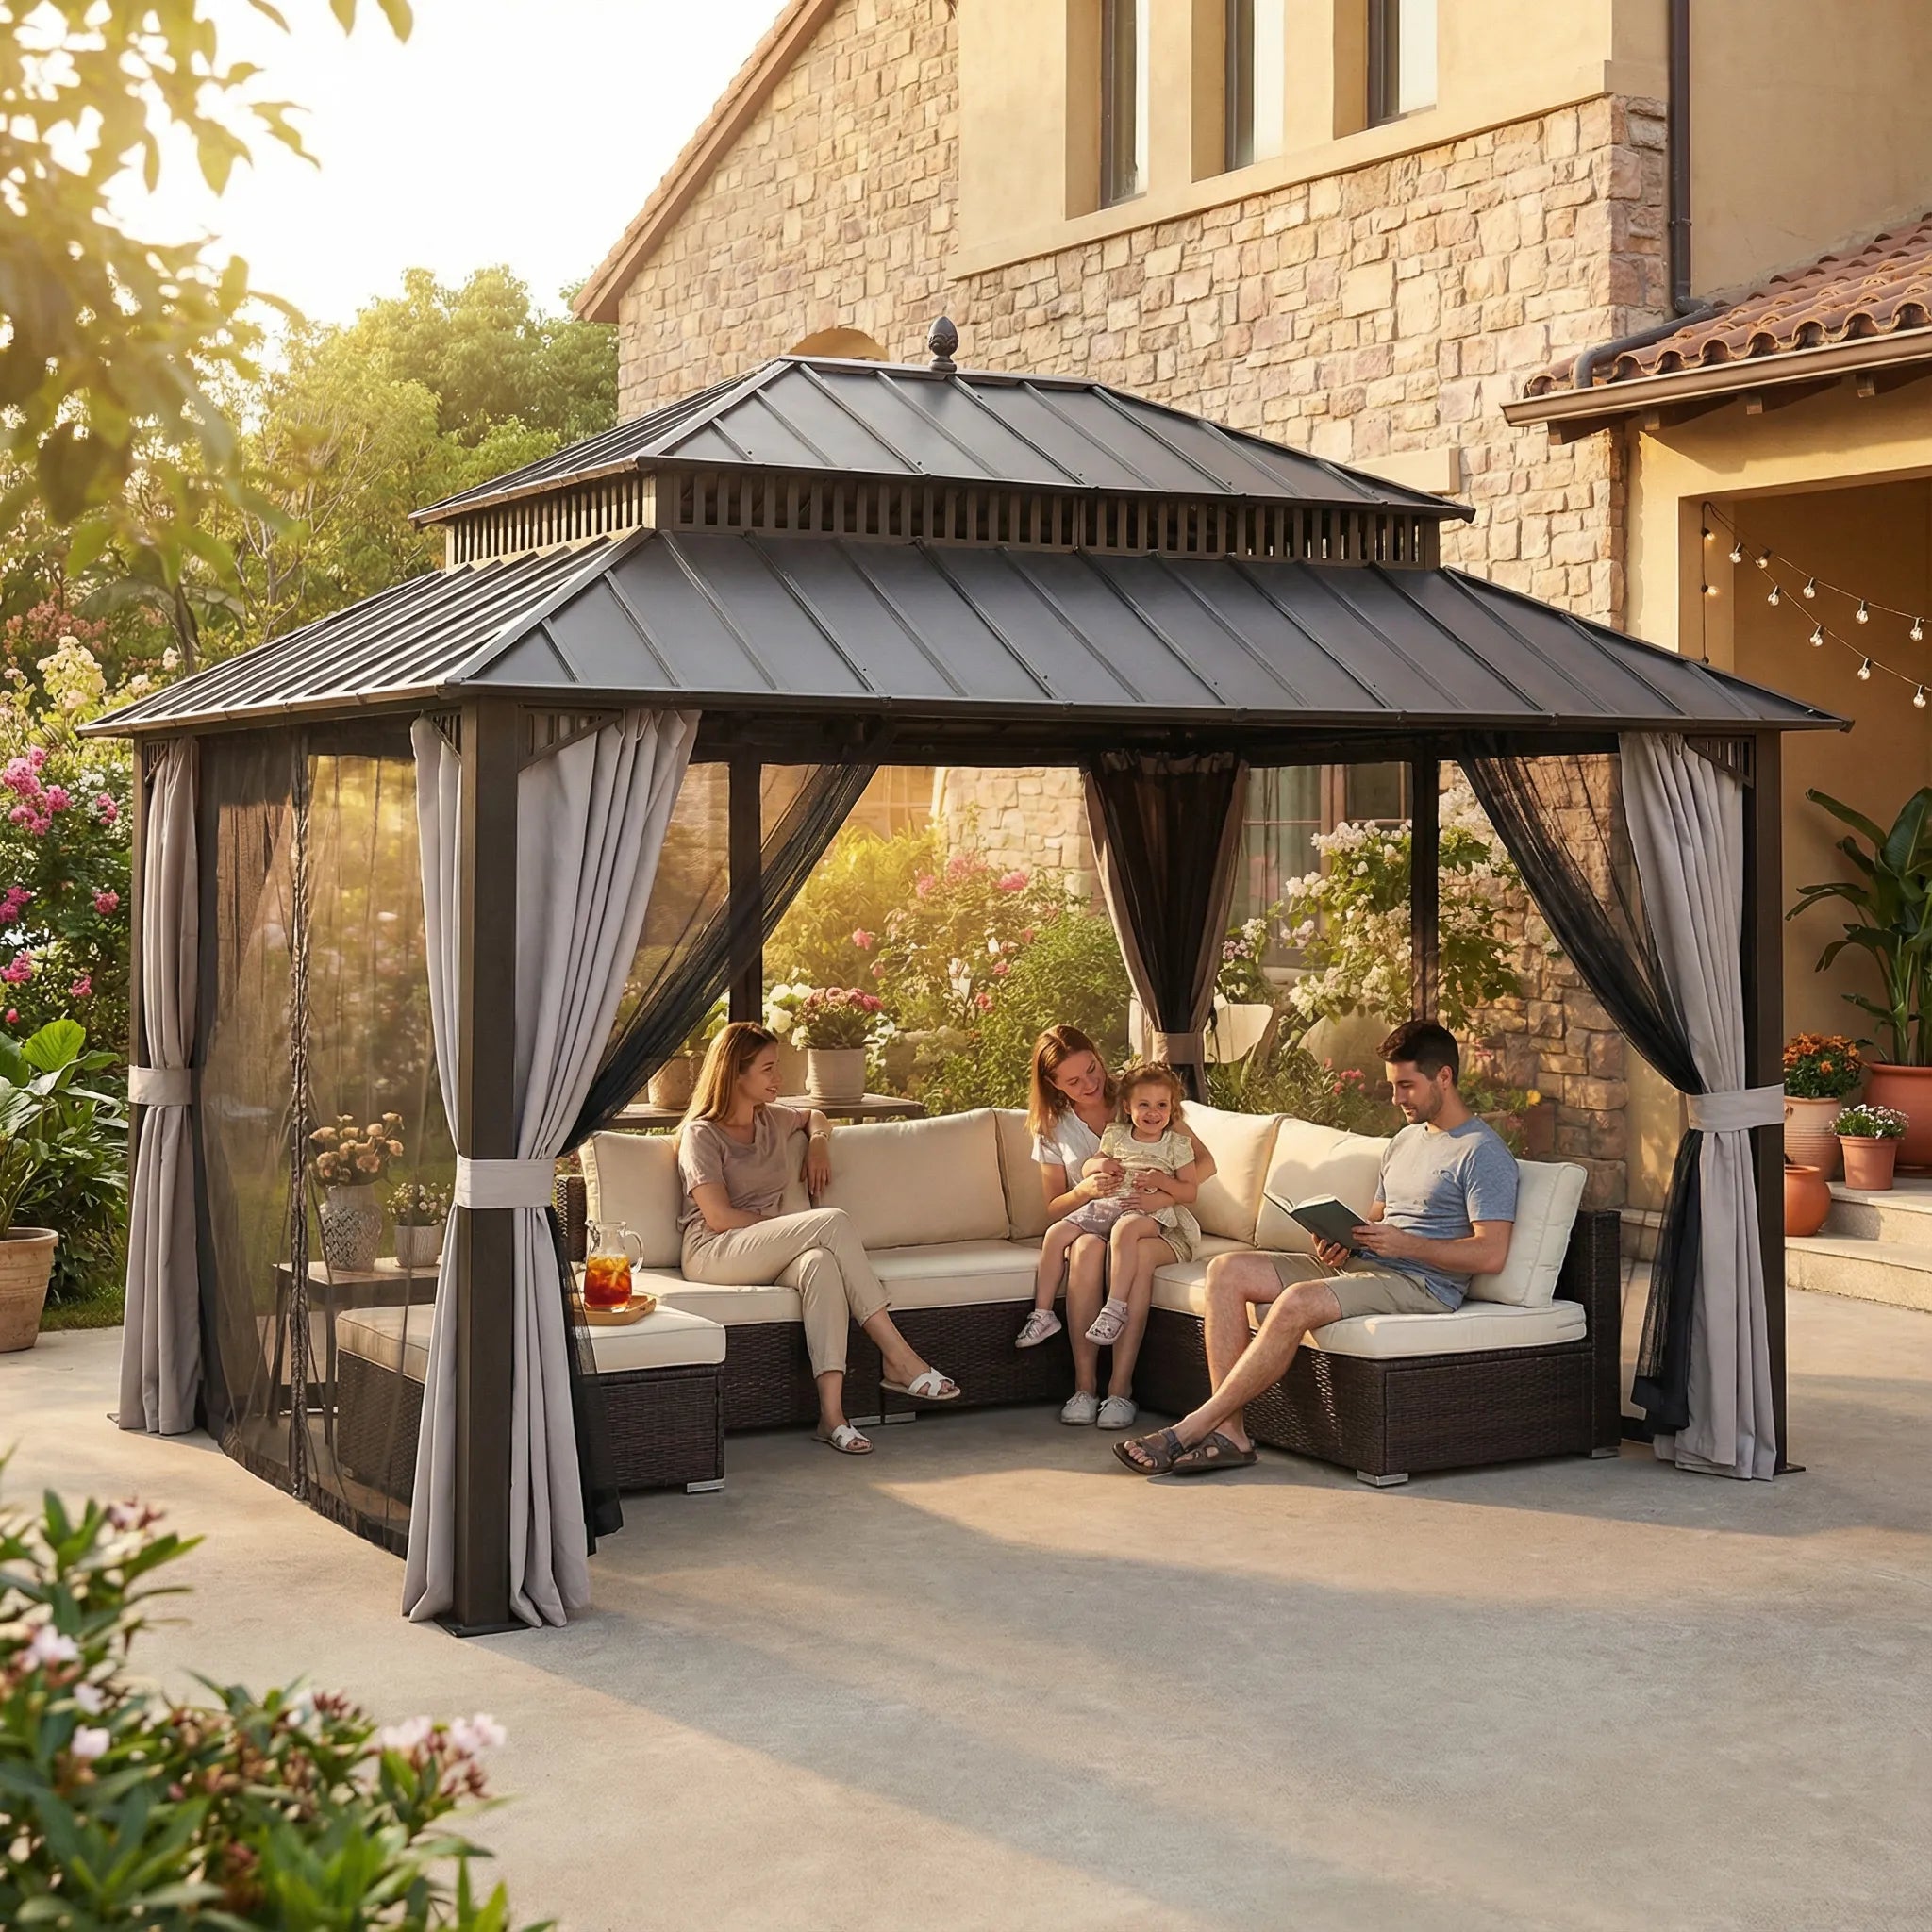
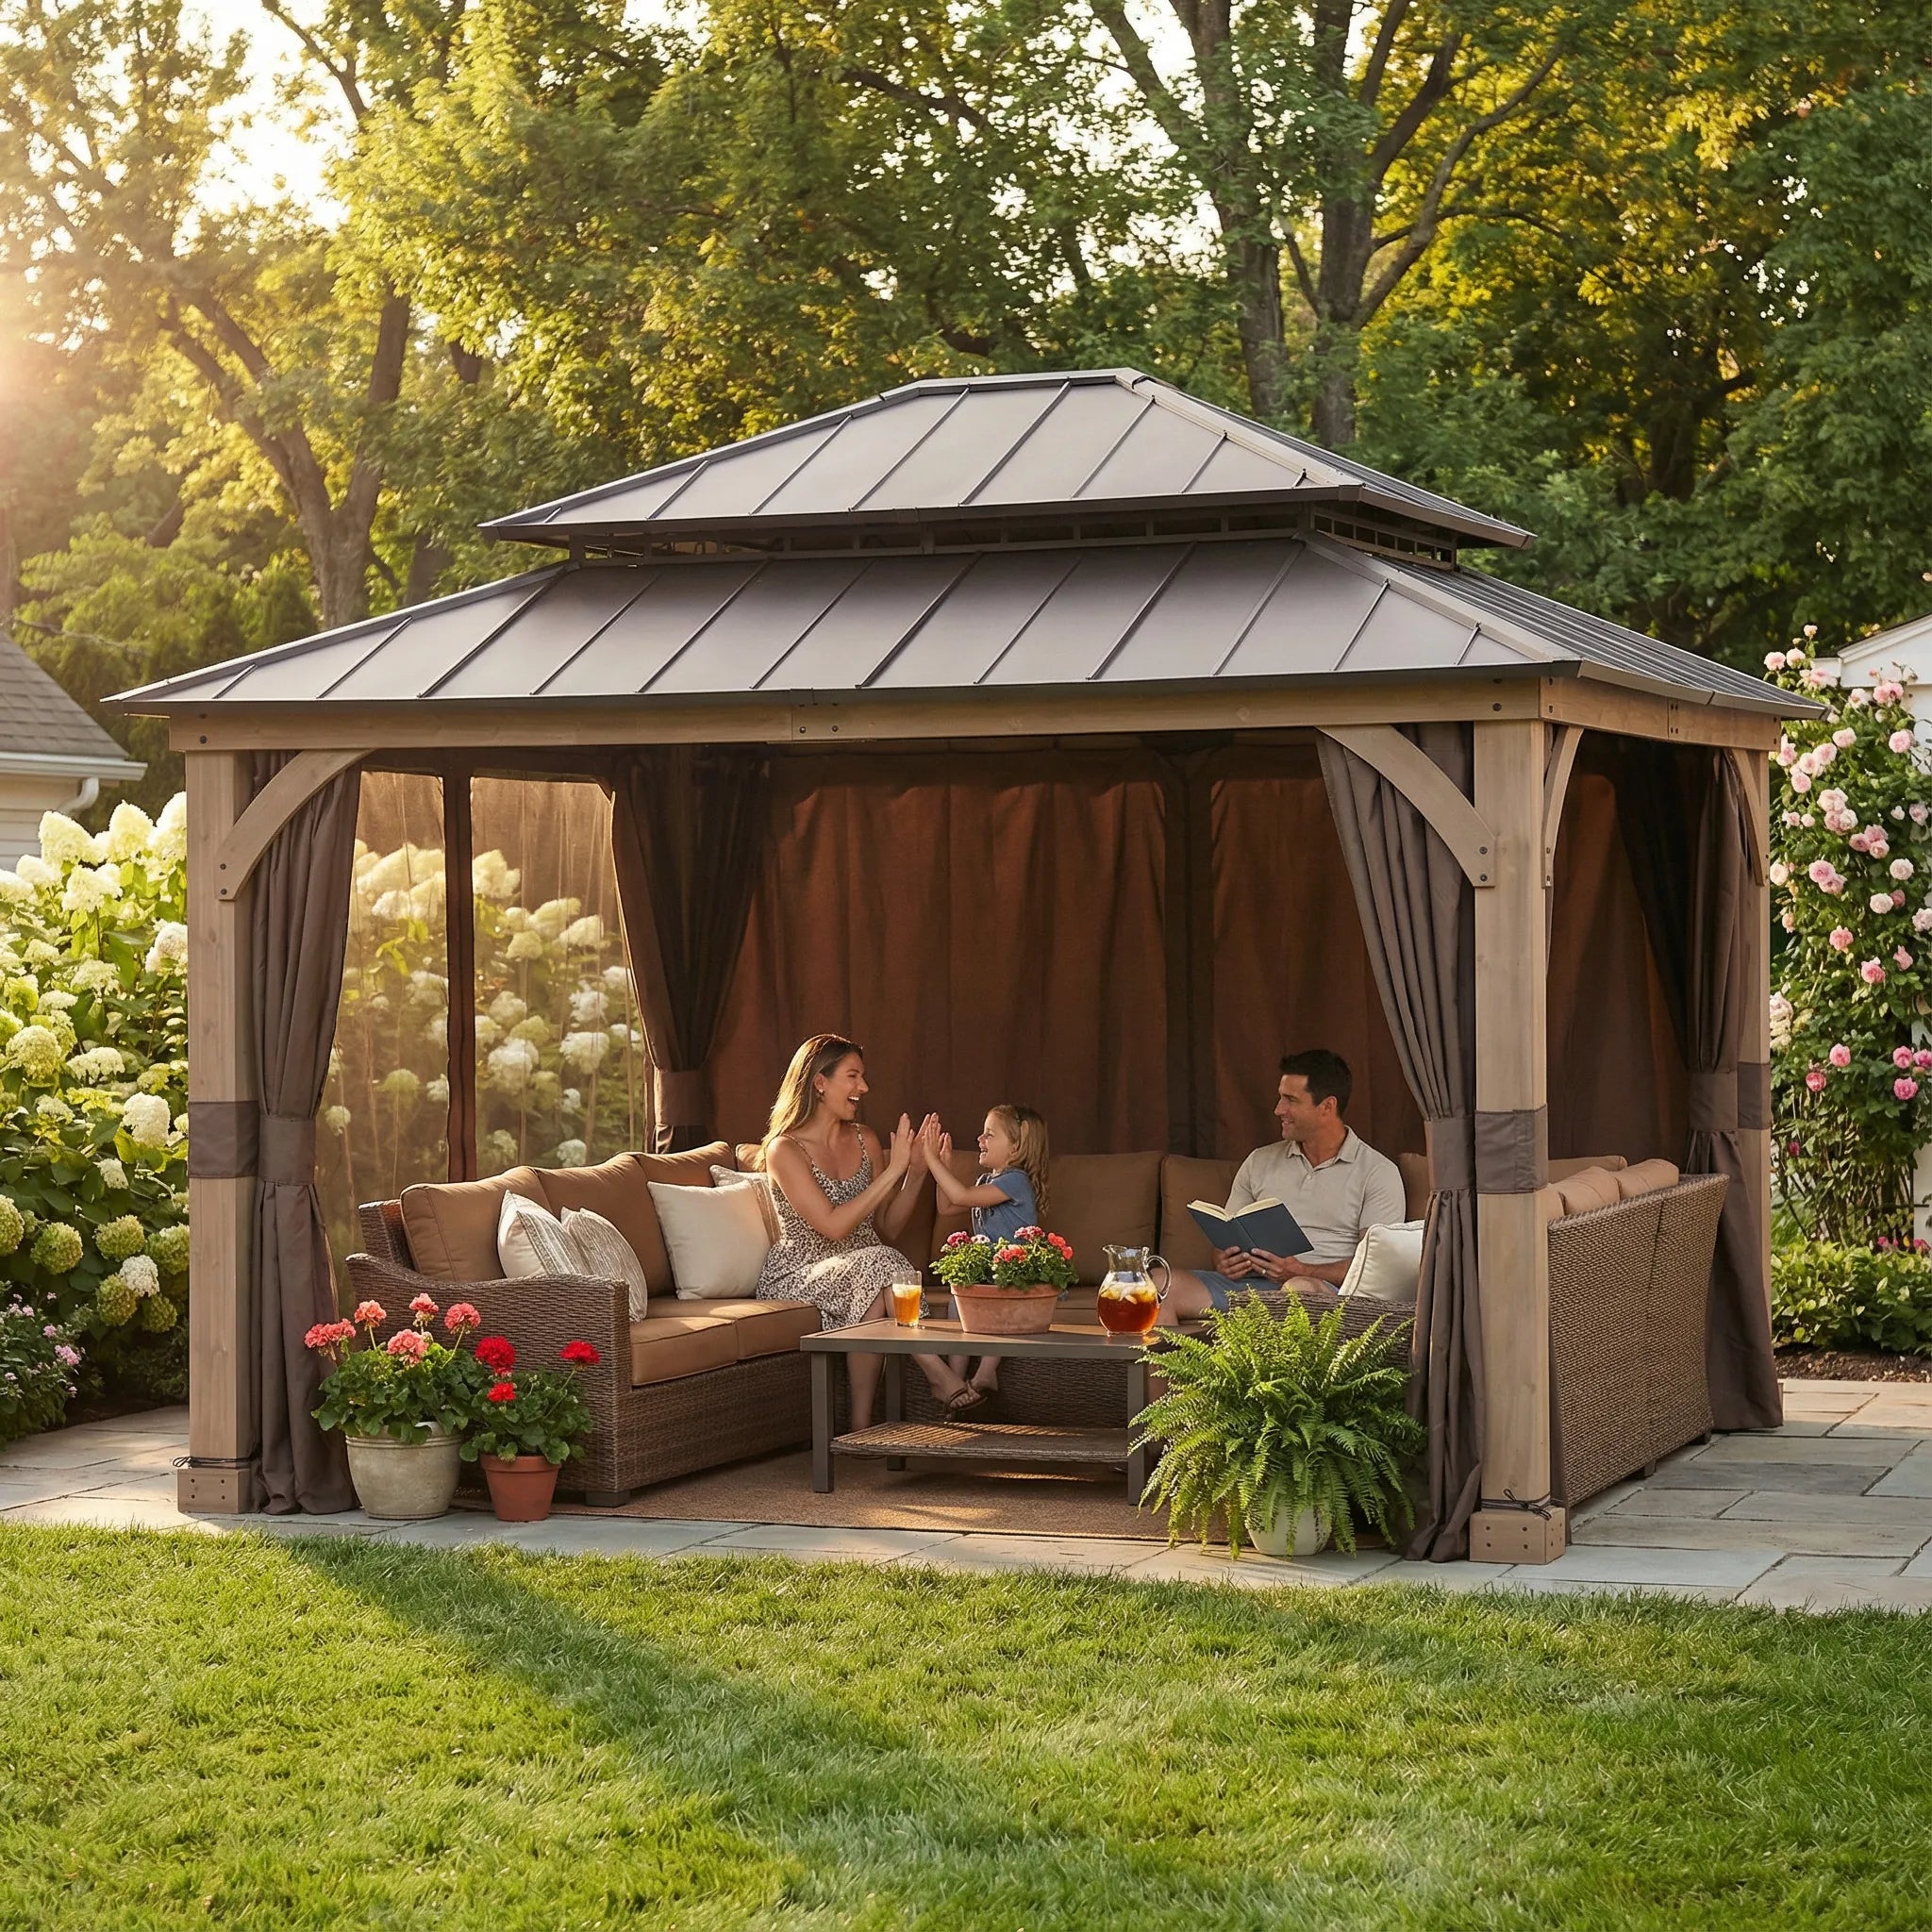
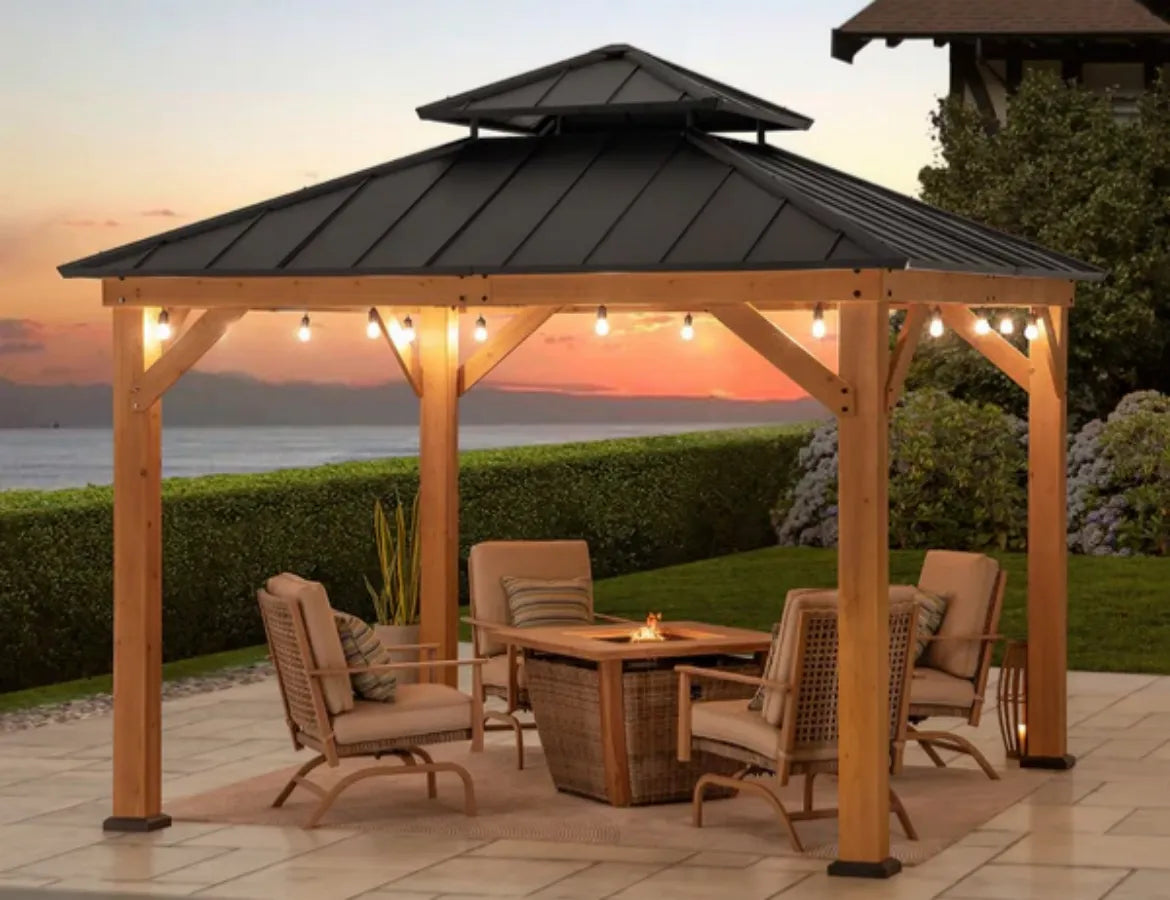
SUNJOY 11x11 Wooden Frame Backyard Hardtop Gazebo
This cedar wood gazebo pairs a warm natural frame with a powder-coated steel hardtop roof for all-season durability. Key highlights include:
- Ventilated 2-tier roof that promotes airflow and sheds rain effectively
- Four 4.57-inch extra-strong wood posts with ground stakes for stability in wind and weather
- Built-in dual rail system for easy attachment of curtains or mesh netting
- Ceiling hook for pendant lighting or hanging decor
- Pre-drilled parts and clear step-by-step instructions for a smooth setup

SUNJOY 10x12 Steel Pergola Kit
For a modern, open-air feel with adjustable shade, this steel pergola delivers:
- A 450g/m² Textilene canopy that is breathable, UV-blocking, and CPAI-84 fire-retardant certified
- Sliding canopy with an easy-grip handle for full shade control throughout the day
- Black powder-coated steel frame for weather resistance and long-term durability
- Integrated privacy wall with horizontal steel slats for added seclusion
- Anchor plates and ground stakes for secure setup on grass or soft ground
Both structures ship free and come with a 30-day return policy, so you can shop with confidence.
Final Thoughts
Building a patio cover is a project that pays off in comfort, usability, and home value. Whether you choose to build one from scratch or install a ready-made structure from Sunjoy, the result is the same: a shaded, protected outdoor space you can enjoy in every season. Start with a clear plan, use quality materials, and take your time with each step for a cover that will hold up for years to come.
Leave a comment
All comments are moderated before being published.
This site is protected by hCaptcha and the hCaptcha Privacy Policy and Terms of Service apply.