Many people want to have an oasis in the backyard, patio, or deck. when we build, we will encounter many problems. Have you encountered such difficulties in the process of building a pergola, facing a pile of parts, but not sure where to start? 🙌
Luckily, Sunjoy will explain today with an example of a hot sale product. So let's follow Sunjoy class, and take a look at the building process of this modern pergola.🥰💜
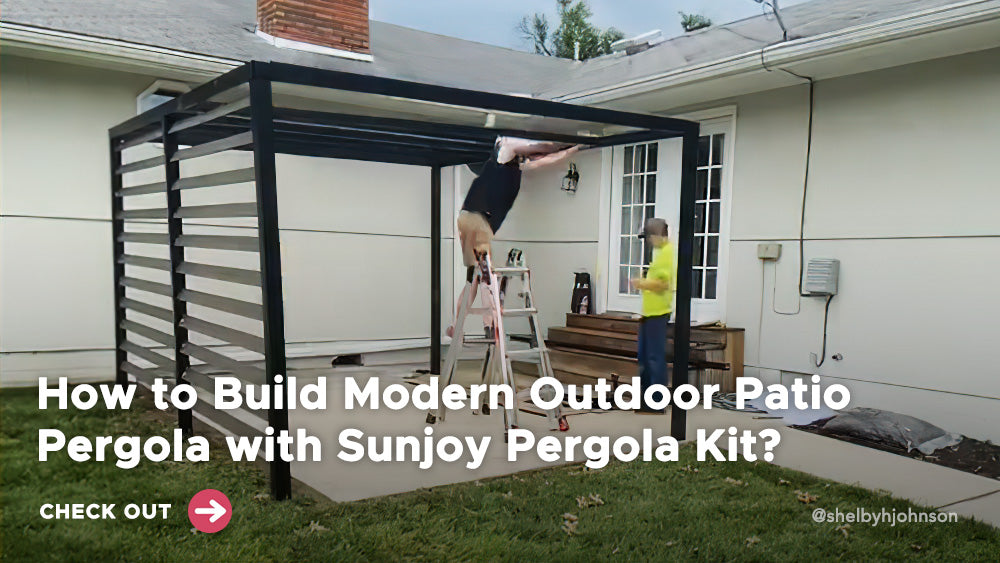
This is the pergola we are going to explain today, Sunjoy Outdoor Patio 10x12 Modern Metal Privacy Screen Pergola Kit with White Adjustable Canopy. Made of a steel frame this pergola has one slated wall for privacy providing a modern and minimalist appearance. The adjustable white shade provides for a welcome retreat on the hottest sunny days. With an adjustable canopy, you can roll it up to enjoy a warm day or roll it down to protect yourself from the glaring sun. ☀️


- How to Build Sunjoy Outdoor Pergola with Pergola Kit?
Attach the base cover to the post.Then attach the base to the post with bolts and flat washer. Tighten with allen key.

Insert the decoration tube and bottom decoration tube to the back middle post's groove. Please note: The bottom decoration tube with the labeled (in) should be facing inwards.
Connect the back left post and back right post to the decoration tube and bottom decoration tube according to the groove direction of the post.

Connect the bottom decoration tube to the post with bolts and flat washer. Then cover with plastic cap. Tighten with allen key.
Connect the bottom decoration tube to the post with bolts, flat washer and cover plastic cap. Tighten with allen key.
Connect the back left beam and back right beam to the beam connector with bolts and flat washer. Tighten with allen key.
Attach the assembled back beam to the post with bolts, flat washer and spring washer, assemble from inside direction. Then cover with plastic cap. Tighten with allen key.
Connect the assembled back beam to the post with bolts and washer, assemble from outside direction. Tighten with allen key.
Connect the assembled back beam to the post with bolts and washer. Tighten with allen key.

Attach the beam cover plate to the assembled back beam with bolts and flat washer. Tighten with allen key.
Connect the front short beam and front long beam to the beam connector with bolts and flat washer. Tighten with allen key.

Attach the assembled front beam to the Post with bolts, flat washer and spring washer, assemble from inside direction. Then cover with plastic cap. Tighten with allen key.
Connect the front beam to the post with bolts and M6 washer, assemble from outside direction. Tighten with allen key.
Connect the short beam short side & long beam short side to the beam connector with bolts and flat washer. Tighten with allen key.
Attach the assembled beam to the post with bolts, flat washer and spring washer, assemble from inside direction. Then cover with plastic cap. Tighten with allen key.
Connect the beam to the post with bolts and washer, assemble from outside direction.Tighten with allen key.

Attach the corner cover plate to the short beam short side and long beam short side with bolts and flat washer. Tighten with allen key.
Connect the short trabecular A1 and A2 to the trabecular connector with bolts and flat washer. Tighten with allen key.

Attach the assembled short trabecular to the back left beam, back right beam, front short beam and front long beam with bolts and flat washer. Then cover with plastic cap. Tighten with allen key.
Place the canopy on the pergola.
Connect the cloth tube 1 to the cloth tube 2 with bolts, flat washer and spring washer. Tighten with allen key.
After placing the canopy on the pergola, then insert the assembled cloth tube into the bottom of the canopy.

Insert the guide tube into the cloth tube.
Attach the cloth tube connector to the cloth tube from top and then secure with bolts. Tighten with allen key.
Attach the cloth tube connector to the cloth tube from bottom and then secure with bolts. Tighten with allen key.

Pull down the cloth tube to the guide rail bottom and secure it with stopper to avoid moving up and down.

Lift the base cover, then secure the pergola on the ground with stakes through the base.
- How to Install Sunjoy Outdoor Pergola to Any Surface?
Proper installation of a pergola or gazebo will keep its shape intact, ensuring that the posts will not move over time for long-term safety and stability. A good installation will make the pergola or gazebo stand the test longer.
A pergola must be firmly anchored to the ground for a number of reasons. Chief among them is safety. A poorly anchored pergola is at risk of being moved by strong winds if there is a canopy or covering that increases the pergola's wind load during storms or high winds. 🍃
The second is to ensure the long-term stability of the pergola to maintain its shape of the pergola. Over time, wooden structures bend or twist to some extent. But with proper anchoring, your pergola can keep its shape for years.
Installed on a soft lawn, since the lawn is softer, it is relatively easy to install.
When installing, Lift the base cover, then secure the pergola on the ground with stakes Φ8*180 through the base.
It can be installed on the lawn with our matching accessories.🌼
Now comes the part that might confuse you, how to install the pergola on a concrete surface. Fortunately, attaching the pergola to the wood surface, paving stones, patio stones, or even concrete works the same way.❤️❤️
Installing a pergola on concrete doesn't have to be a daunting task. This becomes very easy if you have the right equipment at the ready, like a drill, and bolts. You will need to buy these accessories separately at your local hardware store.👏
Use Bolt down the legs to secure a pergola to concrete. If you decide to use bolts, you will need a drill to help you out. Sunjoy pergolas already have holes in their feet, simply set up your pergola, mark the point on the concrete surface where the bolt should go, and start drilling. Once done you can secure the pergola to the concrete surface with the bolt. Repeat this procedure for all 4 legs. Please confirm the position you want, once drilled, it cannot be changed.🌟
- How to Decorate Your Backyard Pergola?
Do you need some creative references for pergola decorating? Maybe you only recently got your pergola or haven't updated it in a while. The decor of the pergola will reflect your style and taste and serve as a comfortable place to enjoy the outdoors yourself or with family and friends. You can decorate your pergola with lights, plants, outdoor furniture, and more, and turn your pergola into the most eye-catching presence in your backyard.🌿🍃
Whether it's mood lighting or bright chandeliers, lighting enhances your pergola's overall aesthetic and nighttime ambiance. Among them, the lights with solar charging methods are highly recommended, which can be placed on pergolas and anywhere in backyards, and they also have the advantages of being low cost and environmentally friendly.🥂🥳
Solar-powered lights come in all shapes, sizes, and colors, and you can choose based on the aesthetic and ambiance you want. Solar light bulbs also have various interesting features, such as color-changing light bulbs, brightness adjustment, and more.🌟
Since pergolas and gazebos existed, we've been using them to grow and display a wide variety of climbing, vines, and flowers. Plants not only help bring the beauty of nature into your backyard or patio, but they also provide shade on hot summer days in your backyard.☀️
With a pergola, you can grow plants directly on the top and frame, adding shade and overall beauty, with a wide variety of climbing plants to choose from. Of course, you can also hang potted plants on your gazebo or place decorative pots around them. Decor doesn't have to be the same, let your imagination run wild.🌺
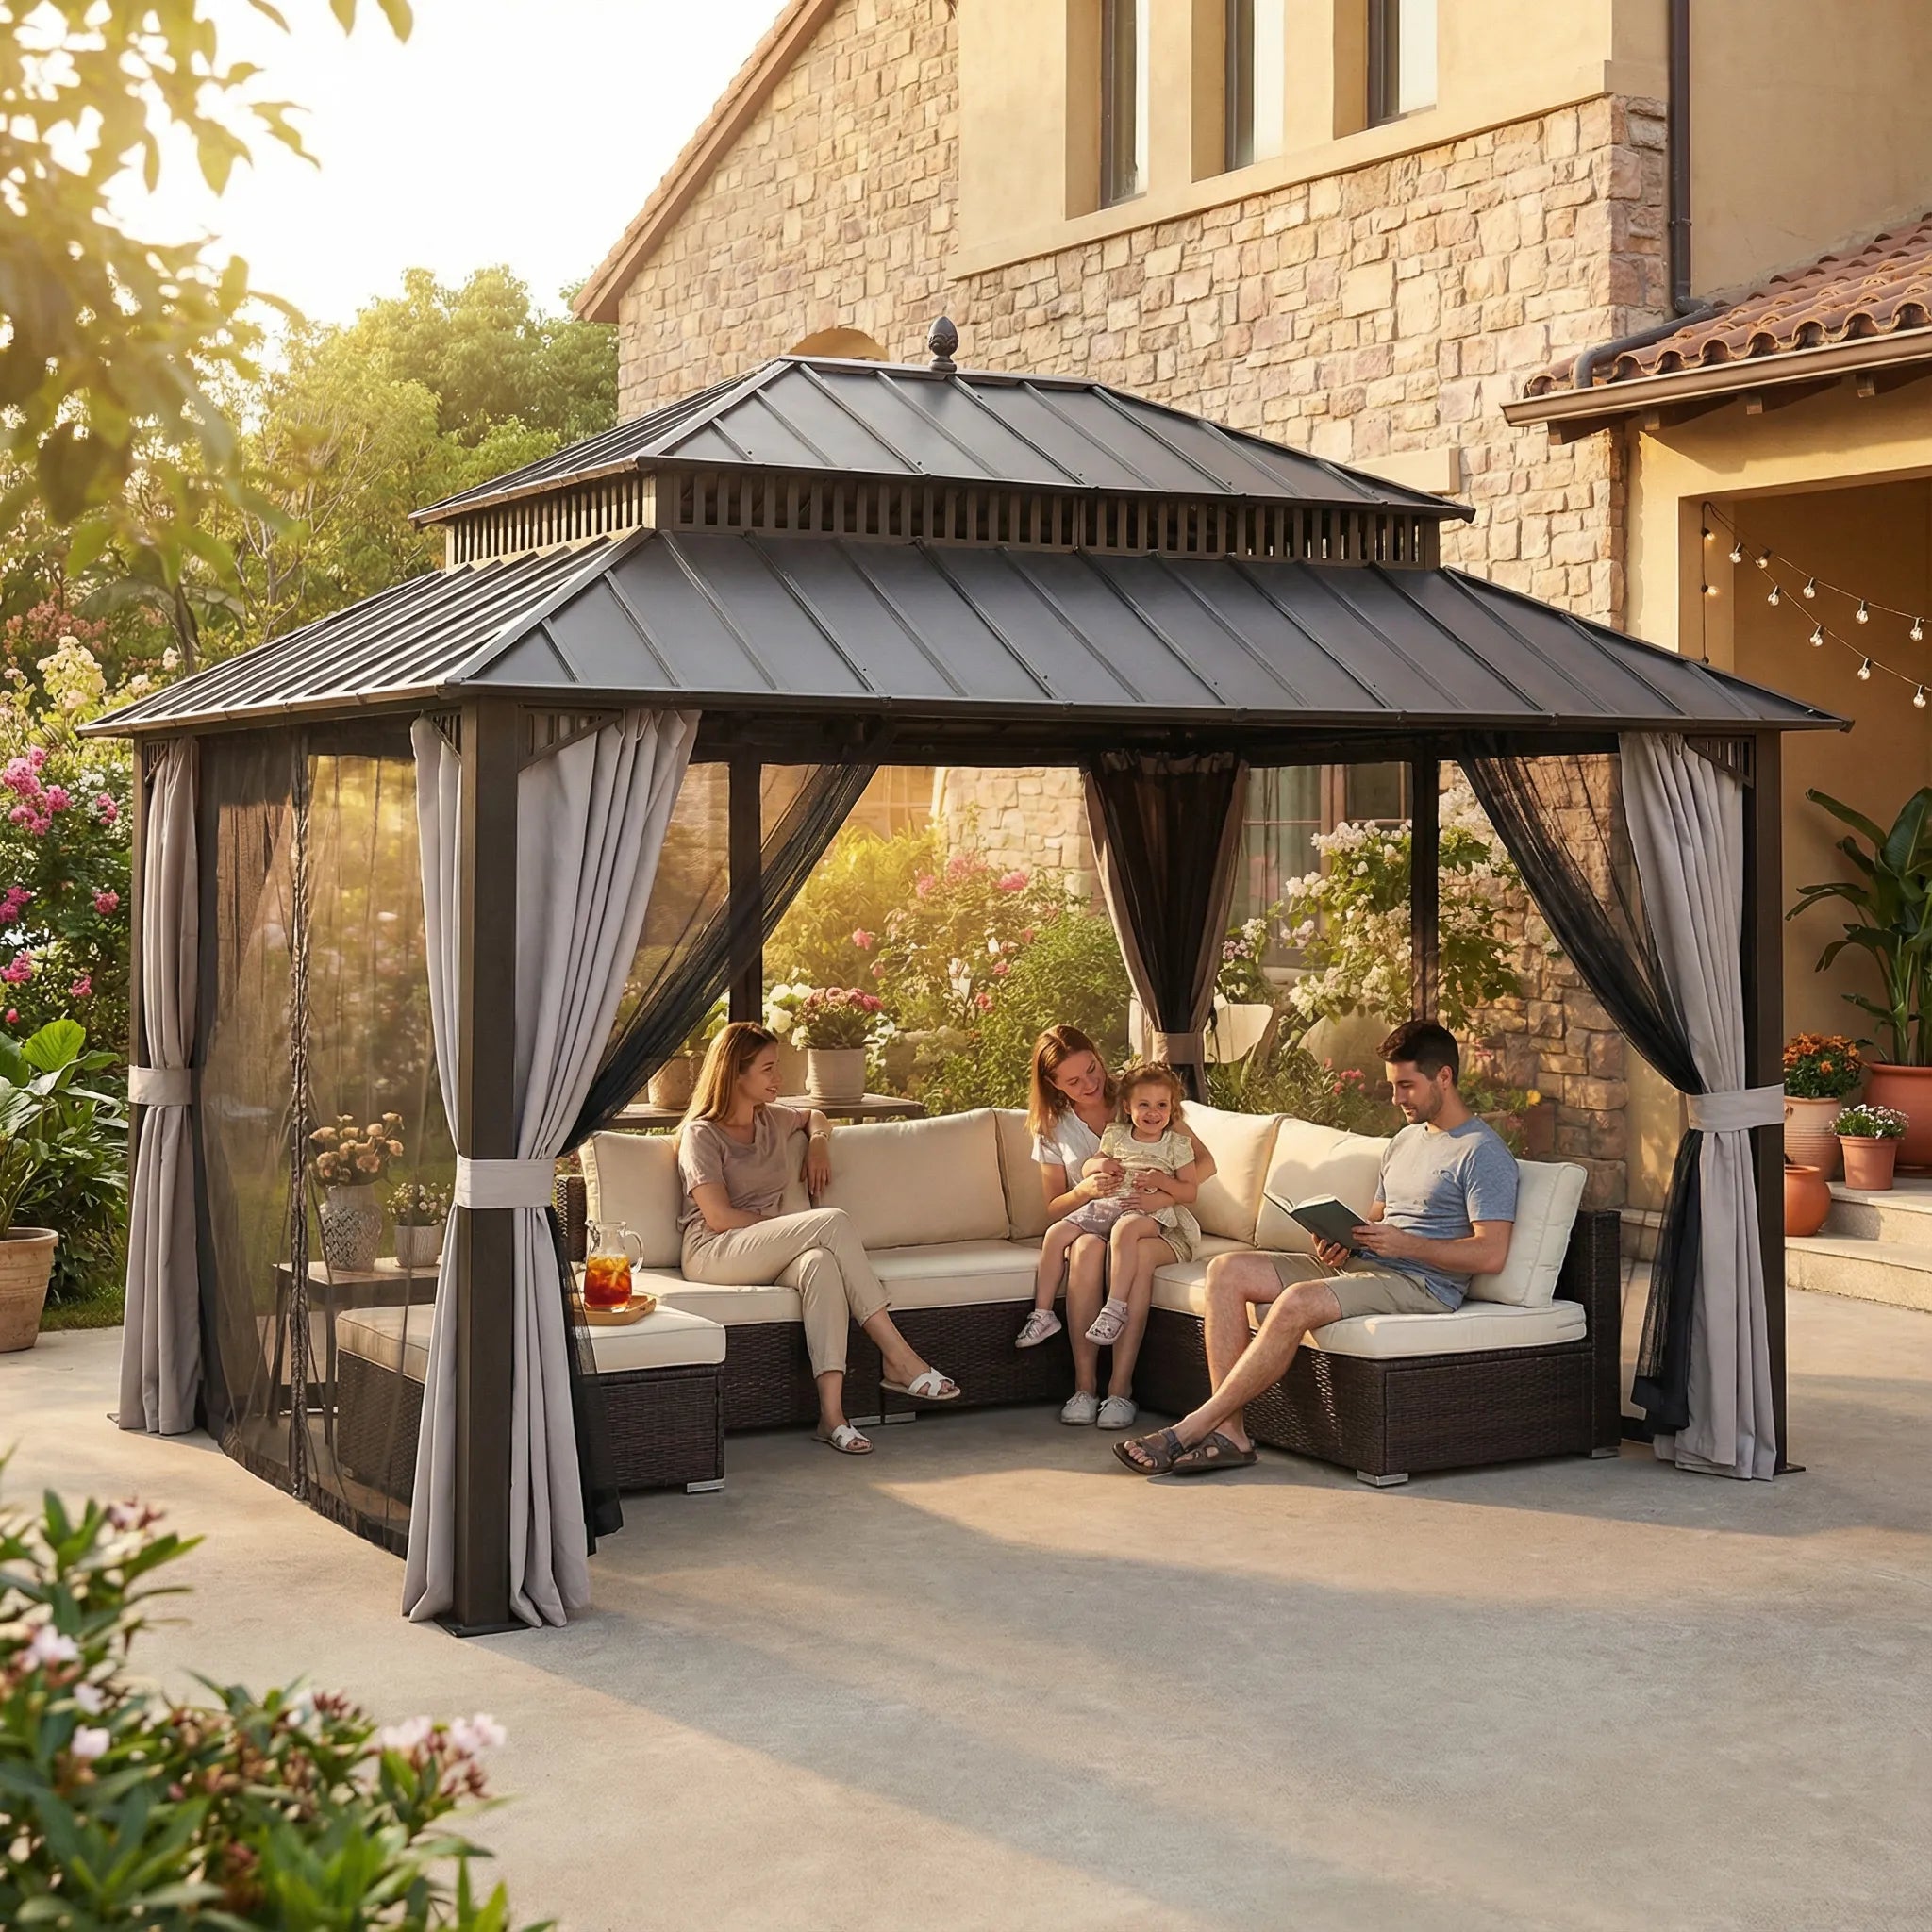
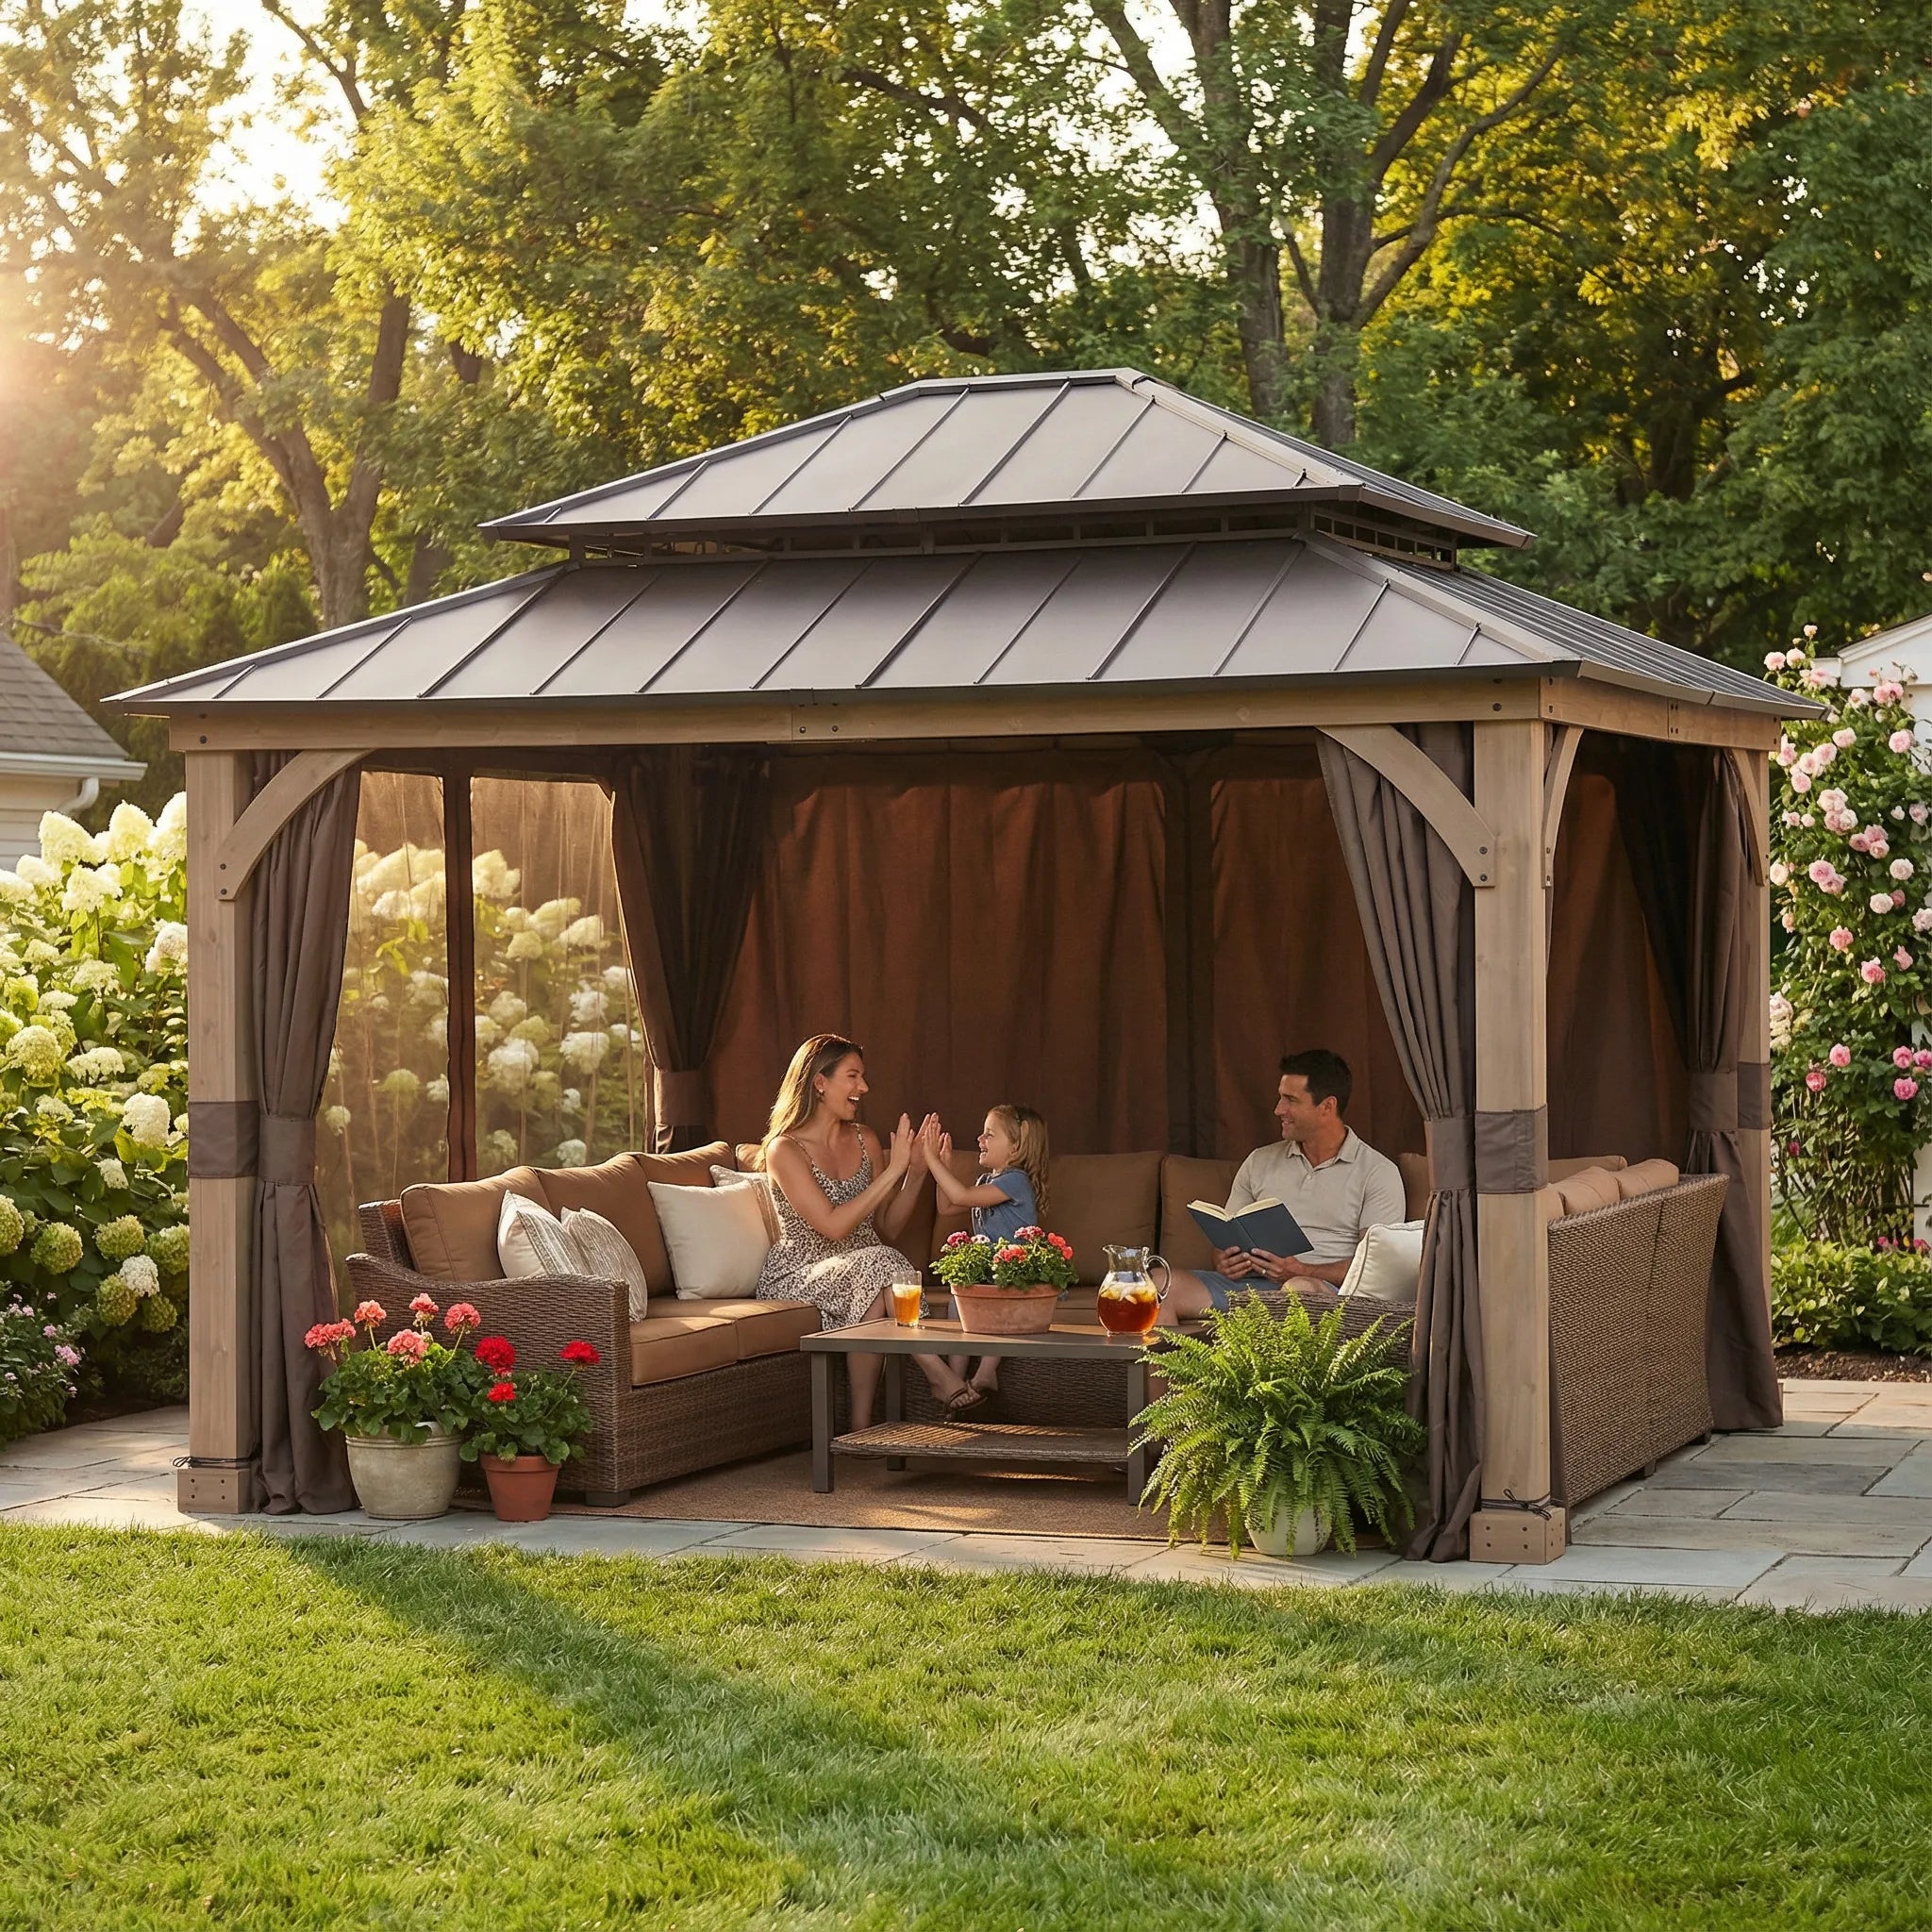
How to enjoy the pergola? One of the best ways is to sit under the pergola and enjoy the fresh air and breeze of the backyard. When choosing the right outdoor furniture for your pergola, what you must consider is what kind of scene you need it to be used for. Is it a place where you entertain family and friends or is it your private place away from the hustle and bustle of everyday life?🌼🍃
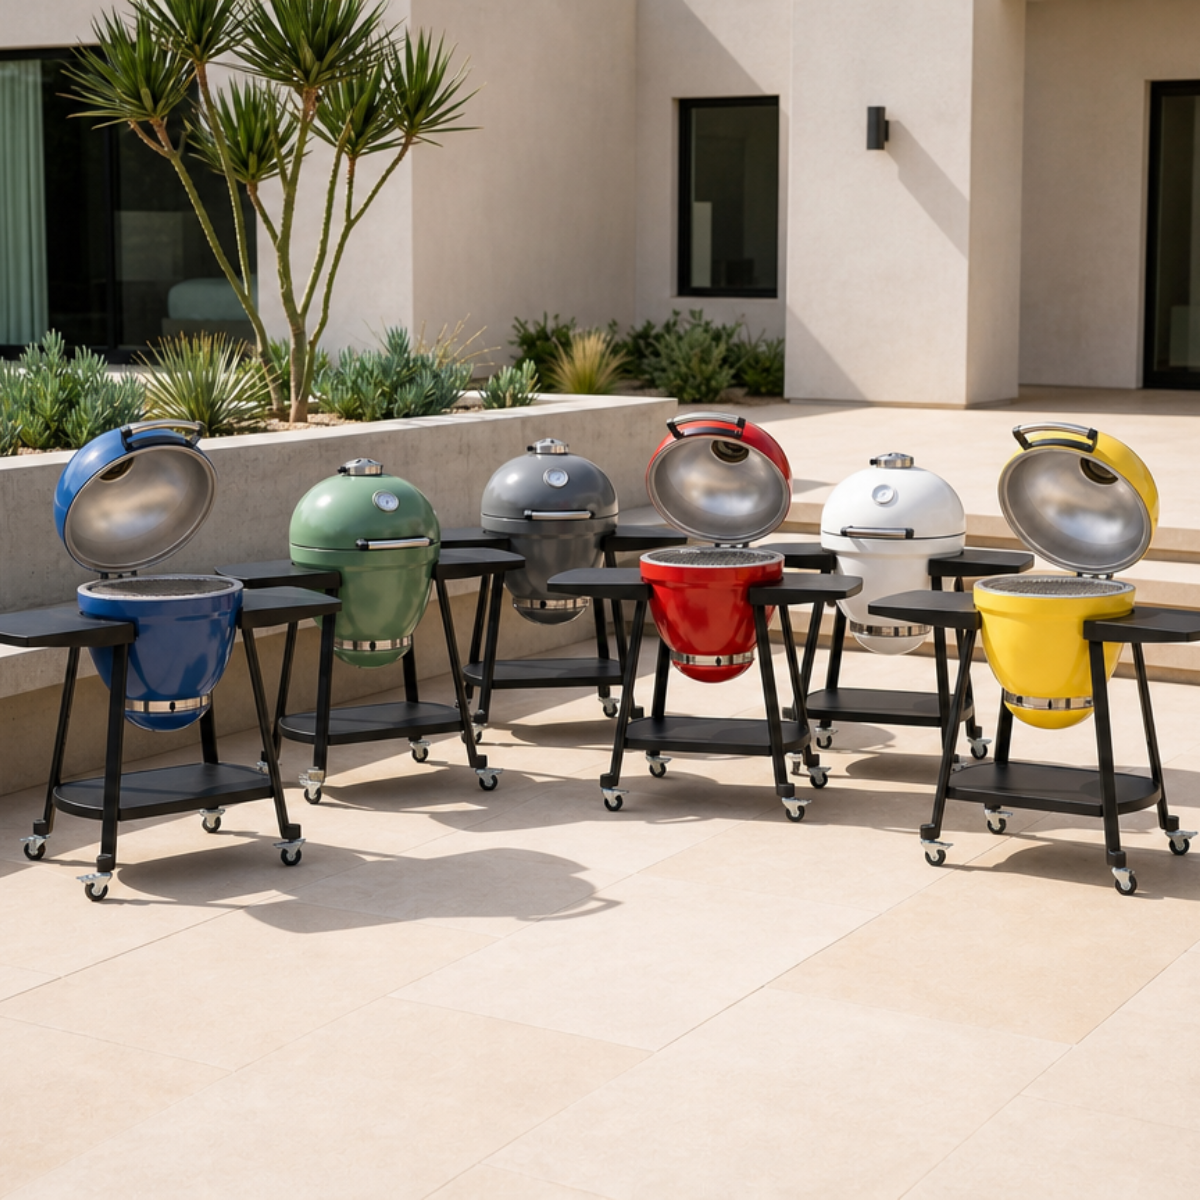
When gathering outdoors under a pergola, adding some outdoor furniture can make your pergola the perfect place to dine al fresco. Such as outdoor kitchens, dining tables, and more interestingly, installing a fire pit or small outdoor grill allows you to cook outdoors in your backyard.🔥
If you like something special, you can consider adding a hanging egg chair to your pergola and enjoy the swing and seat at the same time.
Decor doesn't need to be the same, use your imagination to decorate a special backyard scene!💖💖
Do you have any successful experience in building a pergola? Do you have any good experiences to share? Use the hashtag #Sunjoylife to share your idea or opinion with us on Facebook, Twitter, Instagram, Pinterest, and Tiktok.
Leave a comment
All comments are moderated before being published.
This site is protected by hCaptcha and the hCaptcha Privacy Policy and Terms of Service apply.